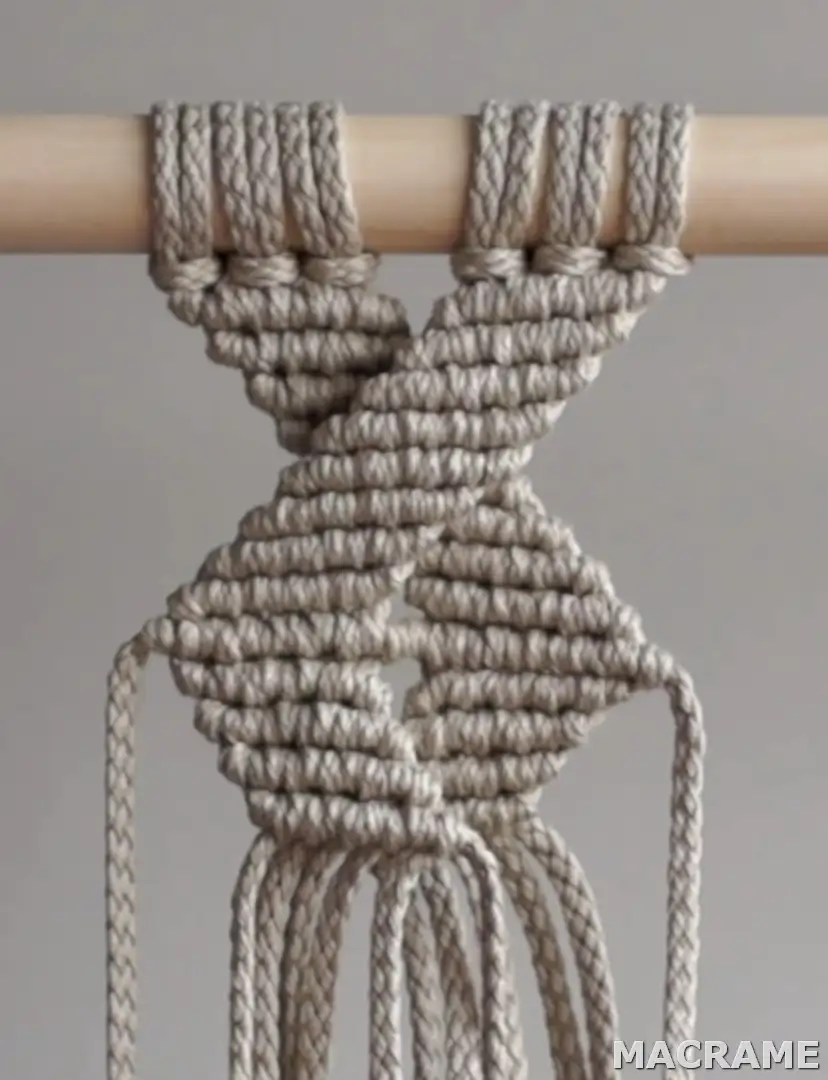
DIY Macrame Tutorial – Geometric Pattern #2
Material:
– Braided Cotton Cord (5mm)
*Please note: This tutorial focuses on the pattern not the double half hitch knot.
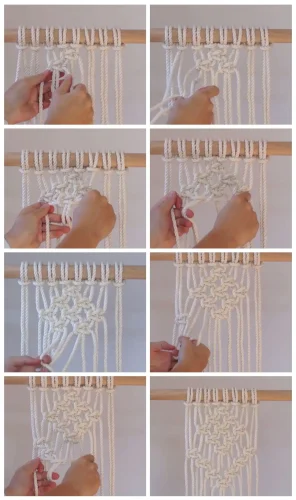
Hey guys! This tutorial will teach you how to create a fun geometric pattern that you can incorporate into your wall hanging. Let’s get started!
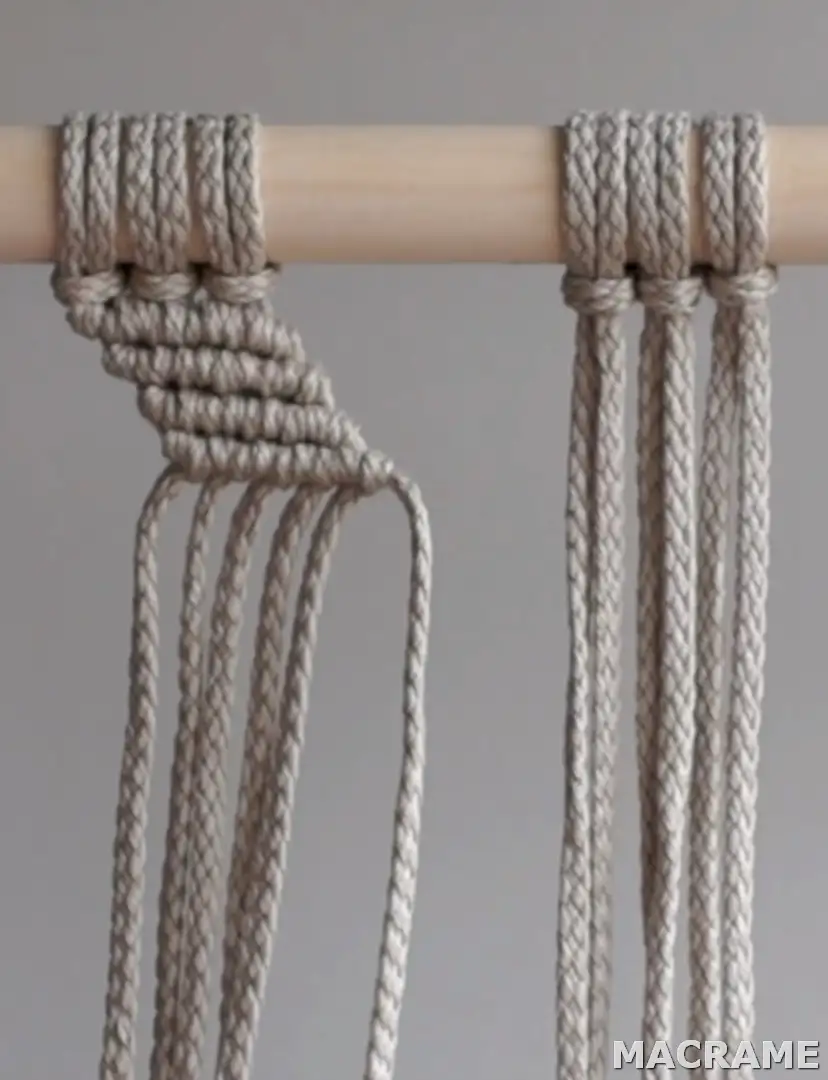

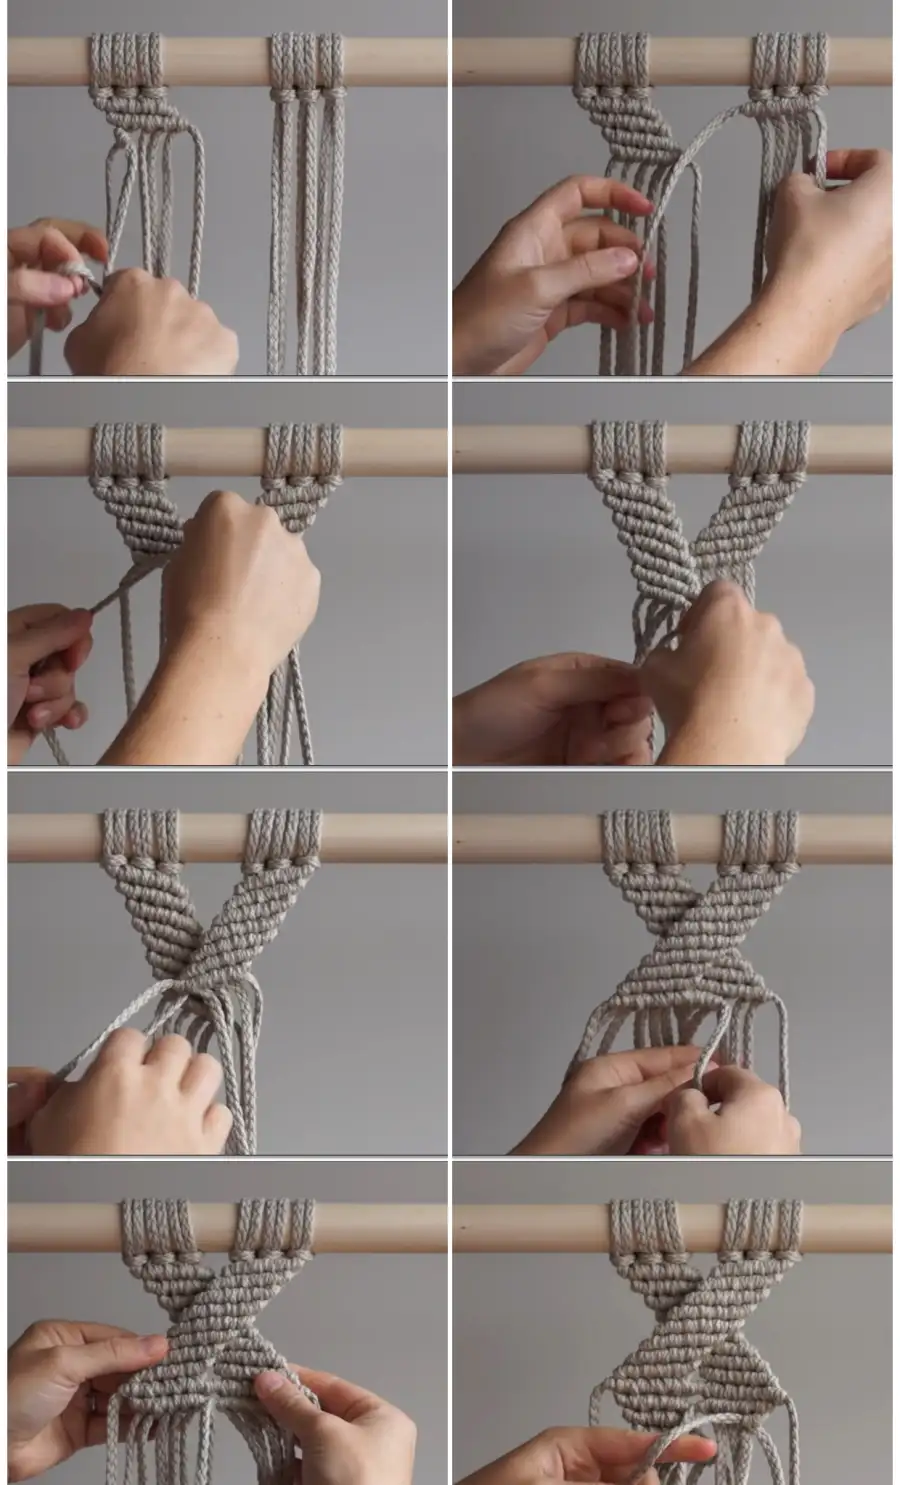
Using the left strand as your filler cord, tie 5 double half hitch knots moving to the right.
Continue using the left strand as your filler cord and tie 7 more rows (8 total rows) of double half hitch knots.
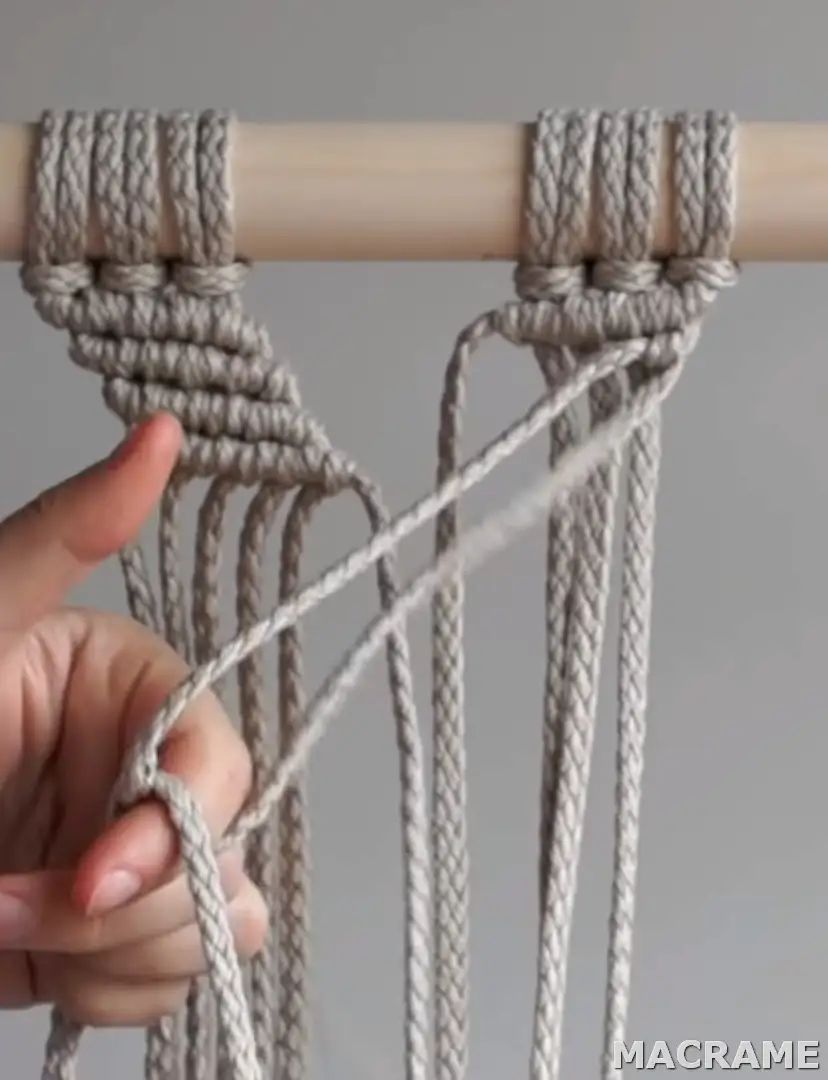
Using the right strand as your filler cord, tie 5 double half hitch knots moving to the left. Continue using the left strand as your filler cord
We will also tie 8 rows of double half hitch knots using the 6 strands on the right. I tie a few rows on the left first, then a few on the right and so on until I reach 8 rows total with both sections of my work. You can choose to tie the knots however you’d like.
Grab an extra piece of rope and tie a row of double half hitch knots across both sections of your work.
Tuck in the ends on both sides of your work. There are loops in the back from tying your double half hitch knots – tuck the end into a few of these loops and then cut the extra rope.
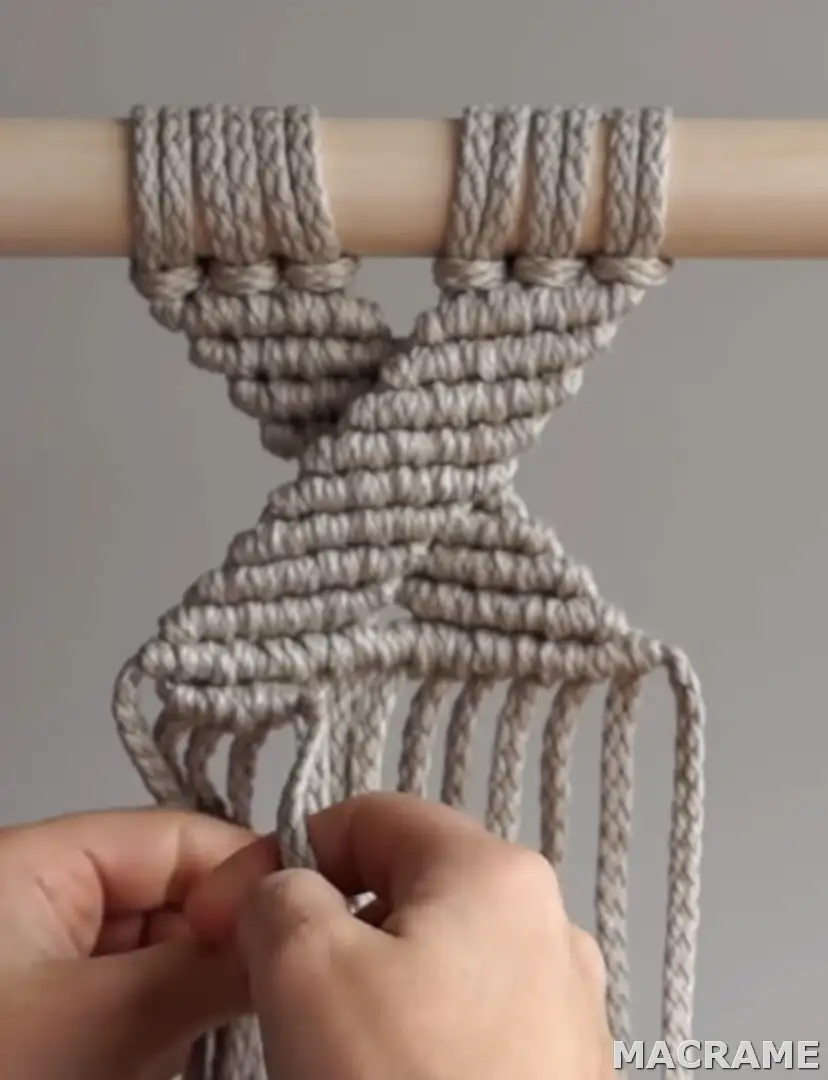
We will now repeat the pattern from the top – using the left strand as your filler cord, tie 5 double half hitch knots moving to the right. Repeat until you’ve tied 8 rows of double half hitch knots on the left side of your work. Repeat this process on the right side of your work.
I’ve just tied 4 rows here to show you what it will look like but if you are interested in repeating the pattern from the top you will need to tie 8 rows.
You can choose to keep one section in front and one in the back or you can alternate (I’ve kept the section that starts on the right in the front for this demonstration).