DIY Macrame Tutorial: How to Tie a Straight Line of Double Half Hitch Knots! – Please see below for materials and written instructions.
Material:
– 6mm 3 Ply Cotton Rope (Colour: Natural)
Shop my book, Mixed Fiber Macrame and Fiber Art Supplies (string, rope roving, ribbons, velvet and more) here: lotsofknots.ca
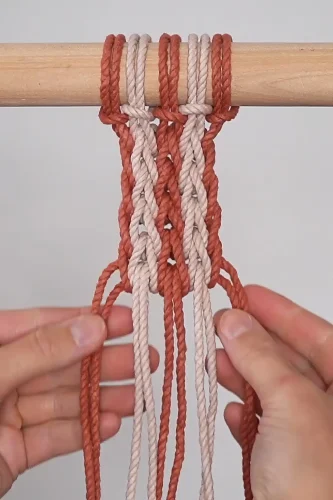
Hey guys! I have another quick tutorial for you today that will teach you how tie a straight line of double half hitch knots. I’ll also give you a few tips on how to tie your knots so that your rows of DHHKs line up straight like this. Let’s get started.
For this tutorial I am using 6mm 3ply rope but these methods will work using if you’re using rope or string of any size.
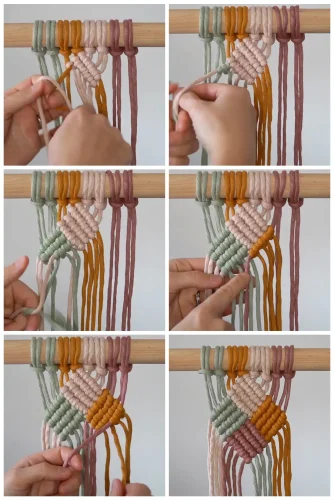
Use a DHHK to attach an additional piece of cord to your work on the left hand side. Tie two more DHHKs. Measure the length of the cord between your two rows of DHHKs on the left. Mark that spot on the right side of your work whatever way is easiest for you – I’ve used a marker or tied a piece of thin string to the cord. You could also mark that spot in the middle of your work if you are tying a long row of DHHKs. This will ensure that you are tying your knots in a straight line. Continue tying DHHKS along your work.
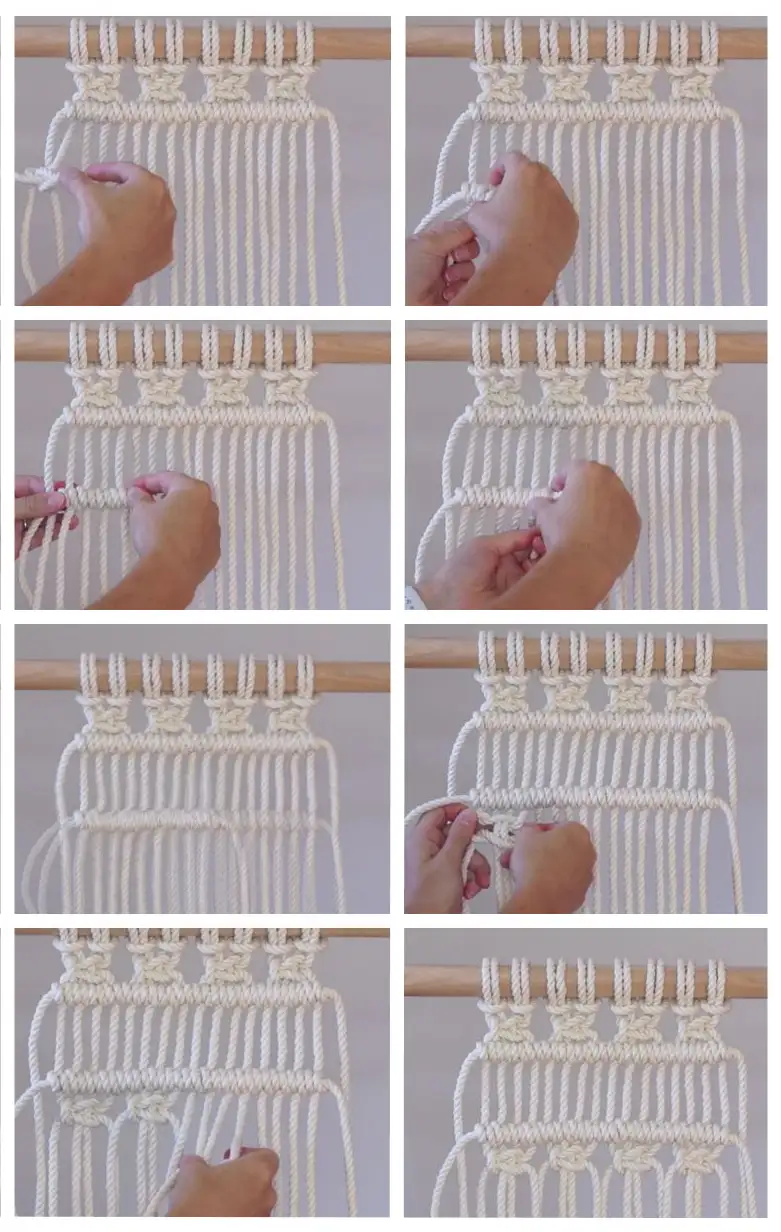
As you tie your knots make sure that the space in between the knots is the same as the row above to ensure that you rows of DHHKs line up straight. If the cords in between the rows are starting to slant then push your knots together to ensure they are straight.
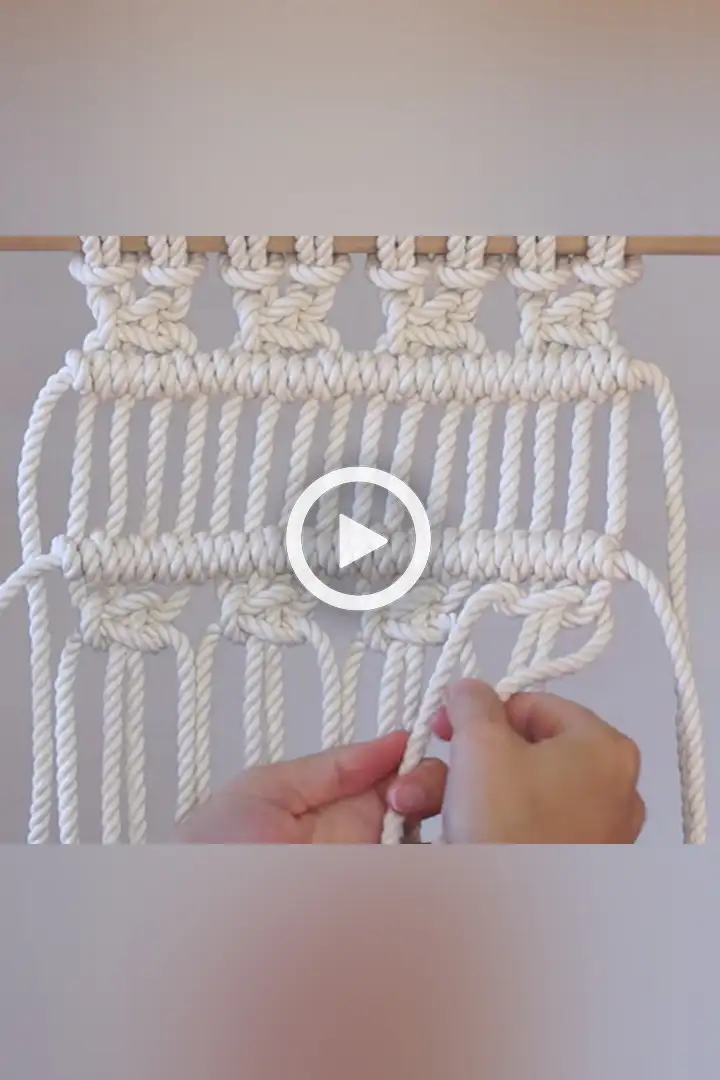
You can leave this area empty or fill it in with roving, ribbons, or whatever else you’d like. I’m going to tie one more row of square knots underneath the row of DHHKs to finish off this pattern.
Thanks for watching!