DIY Macrame Tutorial: Colourful Macrame Spring Flowers! – Please see below for materials and written instructions.
Material:
– 3mm String (Colours: Paradise Blue, Vintage Pink, Baby Pink, Yellow, Vintage Blue, Shamrock Green)
Hey guys! I’m excited to share this macrame flower tutorial with you today! All you’ll need is a ring that is either 2 or 3 inches in diameter, 6 ft of string for the flower and 4 ft of string for the stem. Let’s get started.
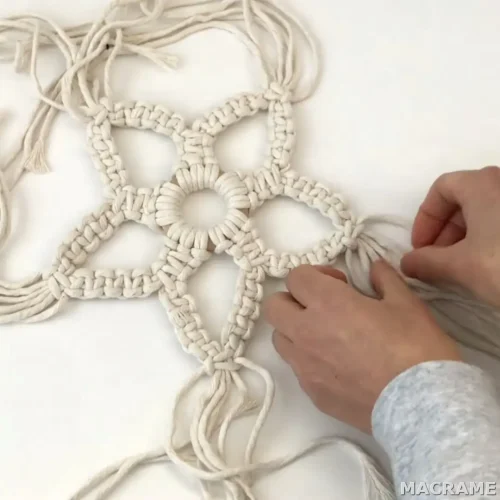
We will create the flower portion first. Fold your string so that there one of the ends is about 3 inches long. Bring the fold up and over the ring and then pull the ends through the loop. The short end will be used to create the stem and the long end will be used to create the flower petals. You can create flower petals of any size, I made a few flowers with different sized petals. For this flower I’m going to create petals that are about 1 1/2 inches long.
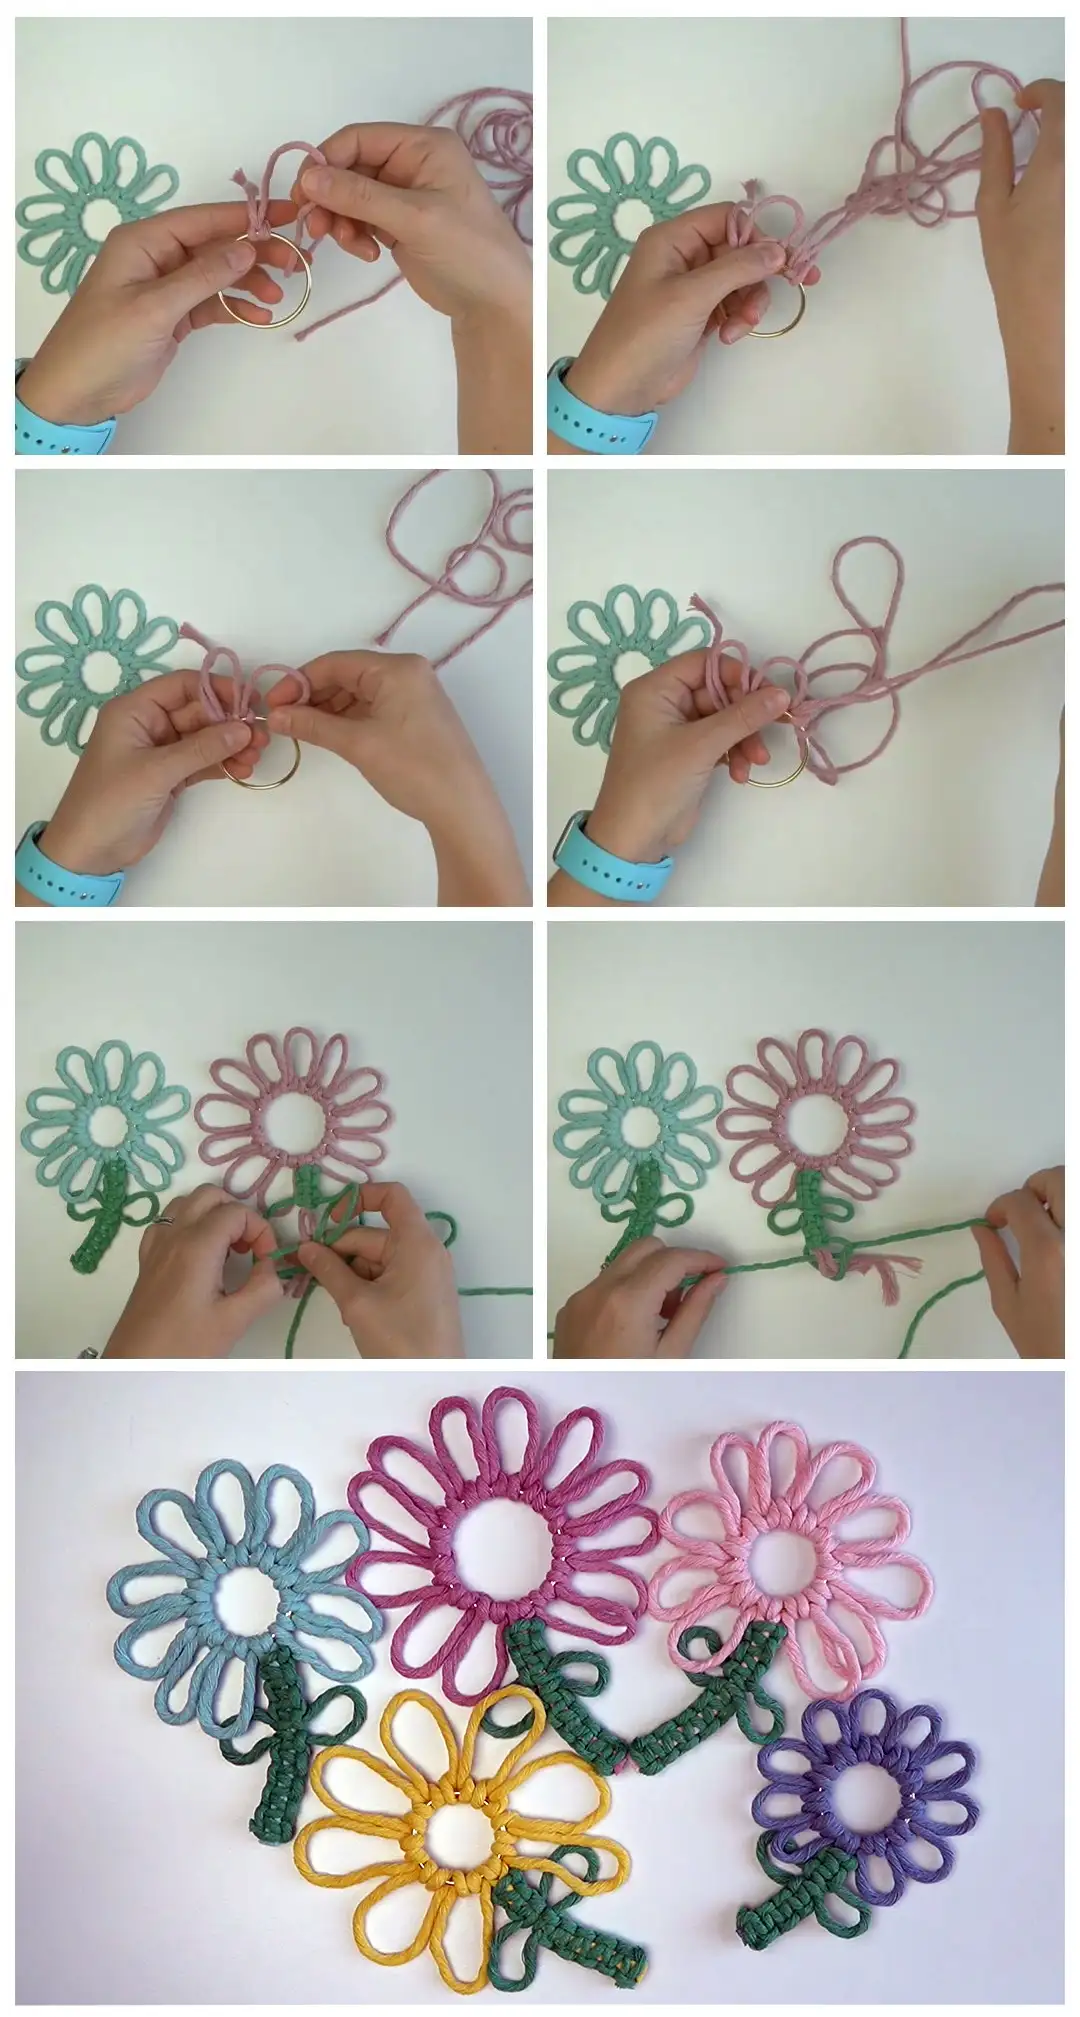
Bring the cord behind the ring, through the loop, in front of the ring and through the loop. It’s a bit tricky but I found it helpful to think behind the ring then in front of the ring for each of the petals. For this flower I am using a 3 inch ring so I created 12 petals total, when using a 2 inch ring I created 10 petals total.
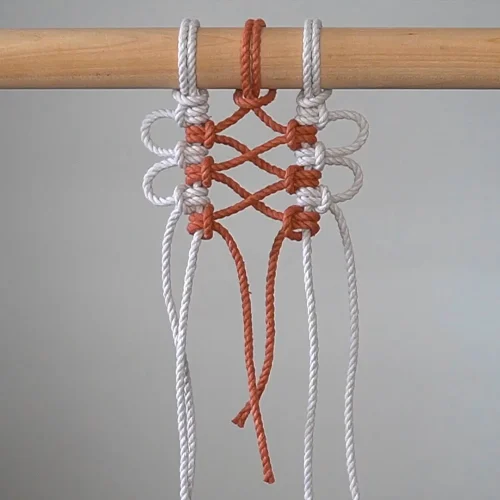
Grab your 4 ft piece of string to create the stem. Fold it in half and place it under the two ends. Tie 3 square knots. Push the first square knot up your work so it sits tight underneath the ring. If you’d like you can bend your sinnet of square knots to add a curve to your stem.
Tie one square knot with picots then push the square knot up your work to create two leaves. Tie 4 more square knots.

Make sure your final square knot is tied tight then cut off the ends. Stay tuned for an additional tutorial where I show you how to add these flowers to a wall hanging!
Thanks for watching!