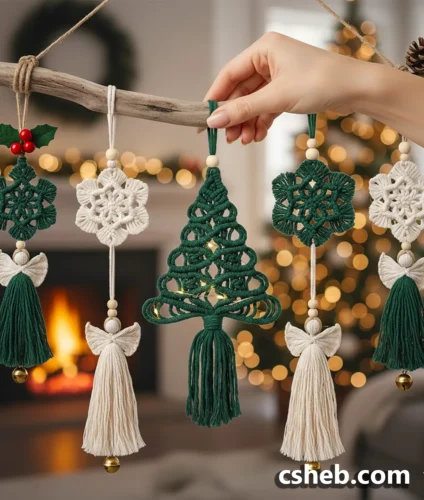
DIY Macrame Tutorial: Berry Knot Pattern! – Please see below for materials and written instructions.
Material:
– 3mm Cotton String (Colour: Natural)
Hey guys! I have a fun tutorial for you today – it is a variation on another berry knot pattern that I’ve shared before
I hope you enjoy it. Let’s get started.
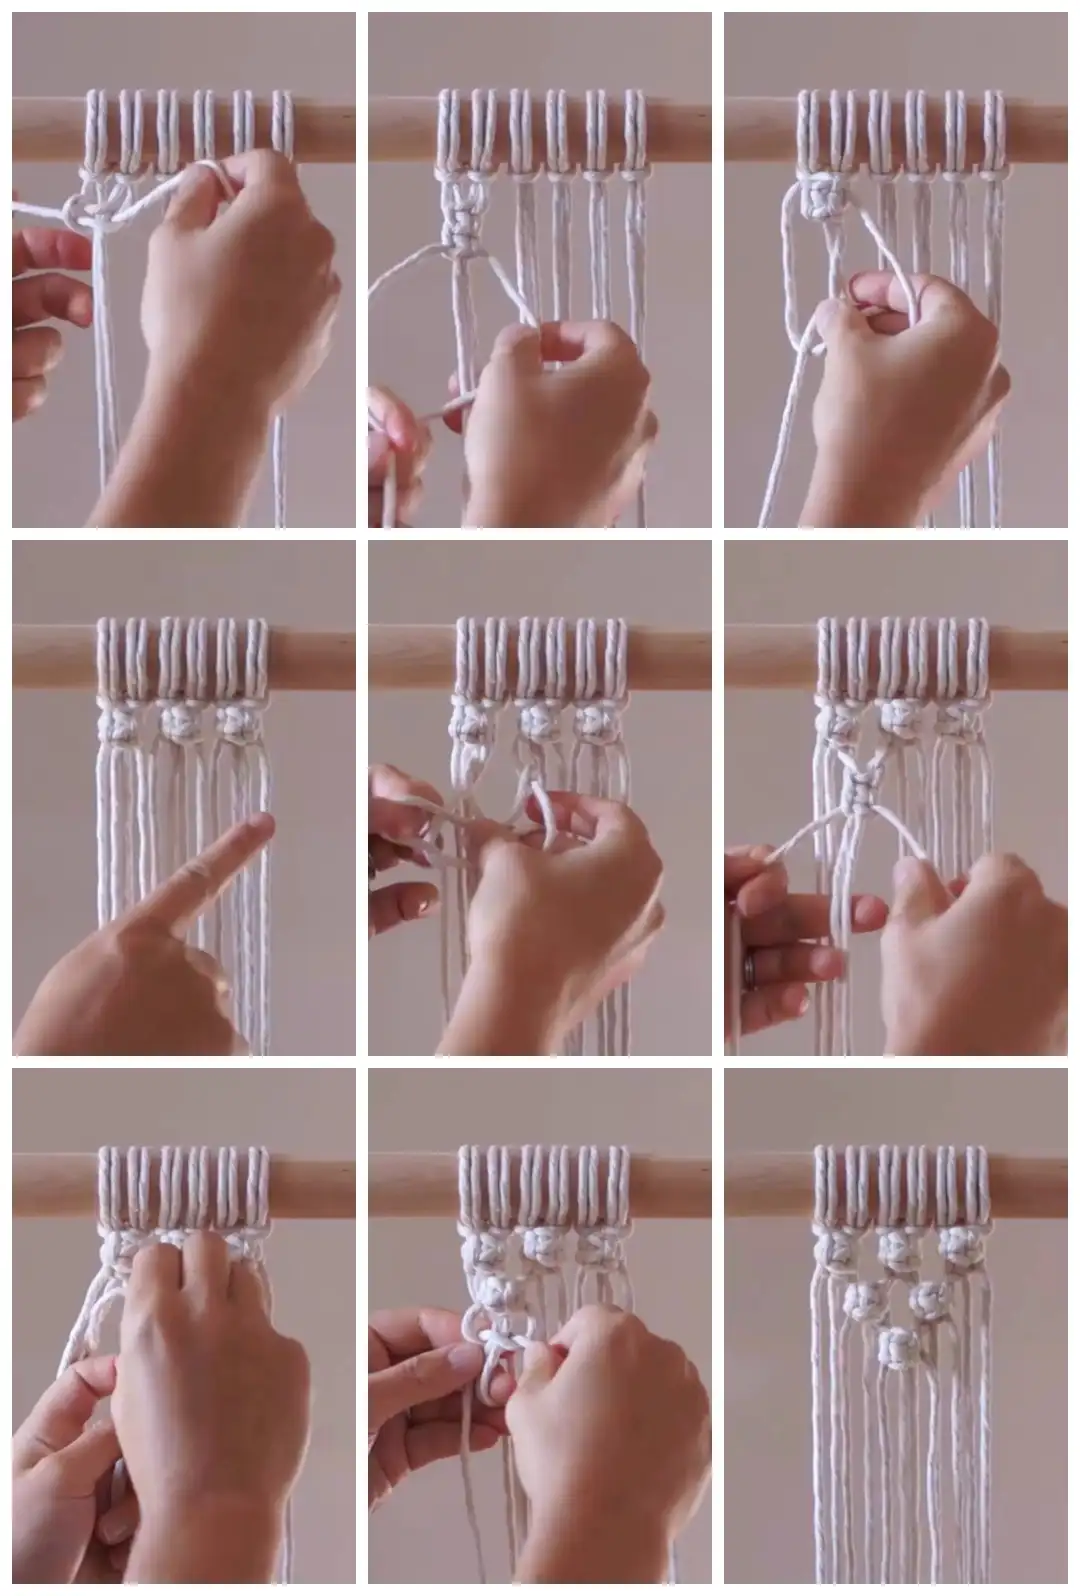
Set up – Cut 6 pieces of 3mm string, each piece is 2 meters in length. Fold each piece in half and attach to your dowel using a Lark’s Head knot.
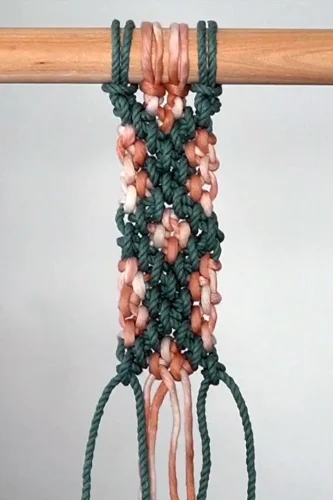
Tie 3 berry knots (BKs) across your work. Tie each BK by leaving a bit of space at the top of your work and then tie 3 square knots (SKs). Pull the two filler cords through the space at the top of your work to create a berry and then tie another SK.
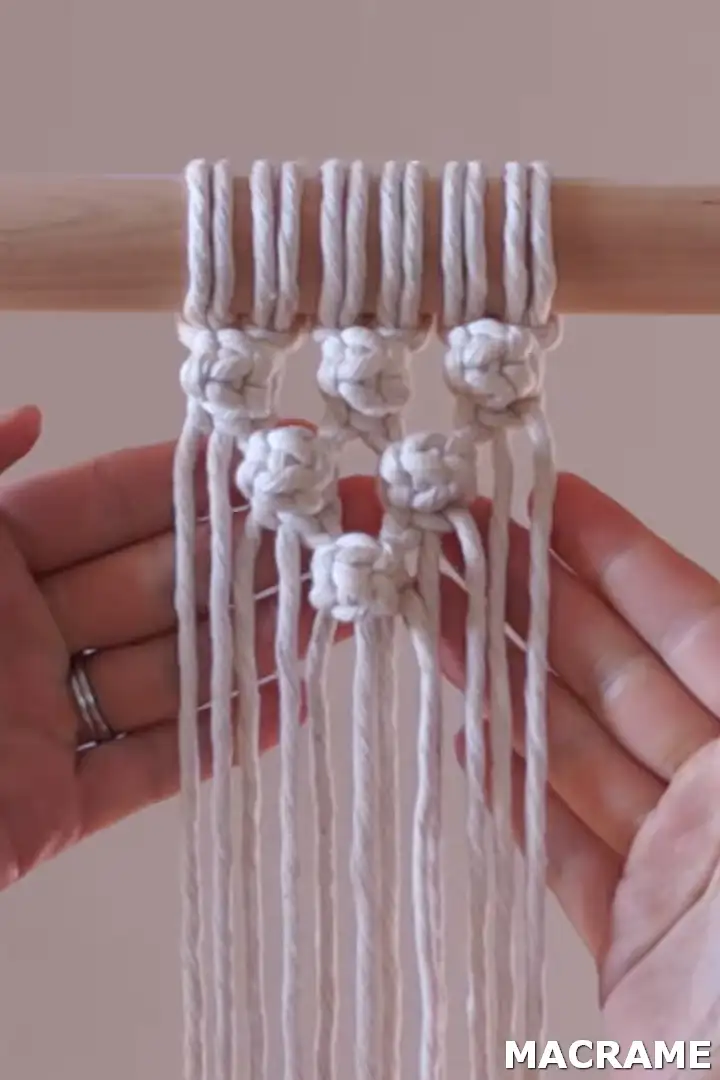
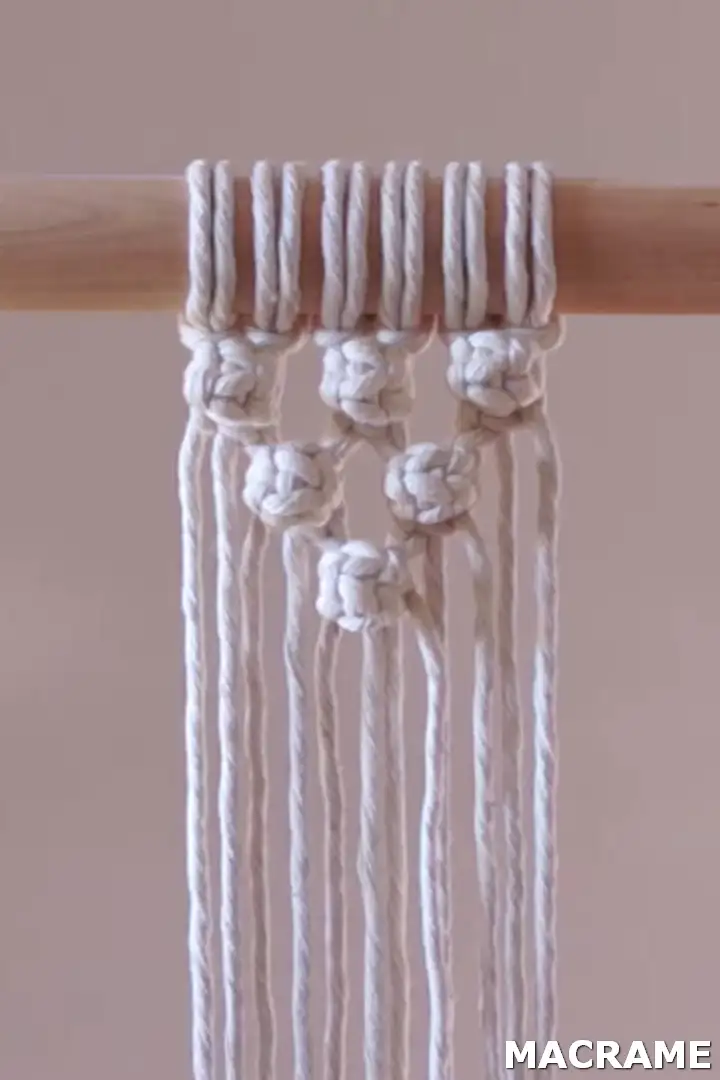
Skip the first 2 cords and tie 2 more BKs. Before tying your BKs cross the inside and outside cords. This will make the BKs pop and create a bit of a different design.
Tie one more BK underneath the second row to create a V shape.
Feel free to tie the BKs whatever way you’d like – you could create a square shape, diamond shape, or something else.
Thanks for watching!