Table of Contents
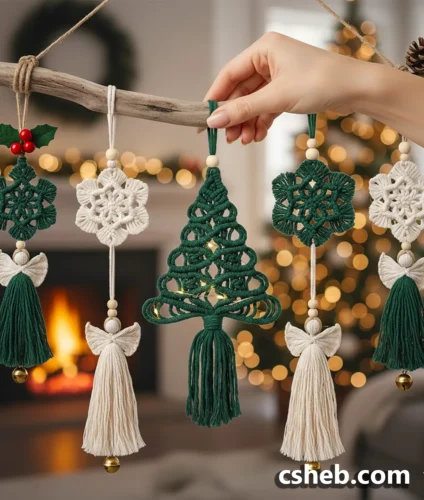
DIY MACRAME – Simple and Fun Home Decor Ideas
For anyone who has tried DIY MACRAME projects in the past, you are probably aware of what this term means. In the past, a lot of older folks would find it fun to make their own scrapbooking layouts from leftover wool yarn that had been knitted into headbands, hats and even gloves. However, with modern technology, people no longer have to worry about their old wool yarn because the latest craze in yarn crafting is the creation of DIY MACRAME projects. Why is this new craze popular among older knitters? This article will explore the different reasons as to why this exciting craft is enjoying a resurgence in popularity.
First, the basic premise behind creating a DIY MACRAME project is to create a macrame pattern from leftover wool, thread or string using an existing cord. If you’ve ever made a knot in your own wool yarn, then you can certainly accomplish this task. For example, you could tie a loose end of your string over a wooden handle of a tool (cord), tie a second cord onto the handle and simply wrap the yarn around the handle to form a loop. Since you’ve tied the cord, you can now simply pull the loop tight and enjoy a knot.
If you’re not familiar with the term macrame knot, then the basic idea behind it is pretty straightforward. To begin your diy MACRAME project, gather some supplies together such as yarn, a couple of spools of your favorite colored thread, and a pair of scissors. Once you’ve gathered your supplies and are ready to begin, simply grab a piece of your flat board or perhaps even an index card and a pencil. Gather your tools together, and then draw the design on your flat surface with the pencil. Once you’ve drawn the design, simply grab one end of the flat board or even the pencil and simply thread the knot! The great thing about DIY MACRAME projects is that once you create the knot, all you have to do is secure the knot to your flat surface and you are good to go.
There are many different patterns that you can try when learning how to tie a knot. The simplest knot pattern that you can attempt is the standard 3-stitch square knot. The pattern consists of a rightmost string, middlemost string, and a leftmost string. You will need to start your project by wrapping the rightmost string around the flat surface that you have previously marked, and then tie the two strings together. After that, you will simply continue by wrapping the centerline of the string over the flat surface and then tie a single knot at the same point that you wrapped the first string around.
Now that you know what a macrame knot actually is, you might be wondering what you can use it for, like how a DIY MACRAME tutorial can help you. In fact, a diy MACRAME tutorial can help you gain more insight on this particular knot pattern. For example, one of the easiest ways to construct a DIY MACRAME project is by using a double hung window or a picture frame as the base. Then you will add a ribbon vertically between the two hung glasses by sewing a piece of the ribbon onto the inner edge of the glass, which will then dangle from the frame.
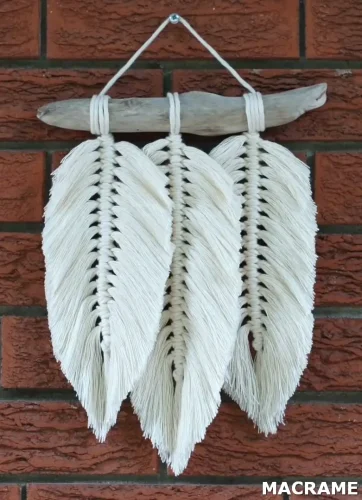
You will then need to attach a photo or any other graphic to the inside surface of the frame. If you are not sure how to do that, then you can search the Internet for “DIY MACRAME” to find detailed instructions that can help you. Then all you have to do is hang your newly created macrame design up on the wall and you are good to go. This is an easy DIY MACRAME tutorial that will surely get you started with your own DIY macrame wall hanging. However, if you are looking to step it up a notch, then you should consider purchasing some fancy handcrafted wall hangings that allow for even more creativity.
Another great DIY MACRAME decorating idea is to create unique cookie cutters out of some thin brown or yellow yarn. Then simply tie a piece of your brown macrame cord on either end to the cord connecting the cookie cutter handle to the hanger and pull! You can make these cookie cutter accents into any kinds of shapes you desire such as stars, hearts, flowers, butterflies, etc. The sky is the limit when it comes to this kind of DIY macrame craft.
When choosing your DIY MACRAME projects or pieces you will also want to consider the kind of knot you will be using in your craft. There are some types of cords that are easier to tie than others. Two of the most popular knots used in crafting pieces like these are the standard knot and the half hitch knot. To ensure safety, you should only use high quality twine and/or twine strings to avoid breaking or damaging your objects.
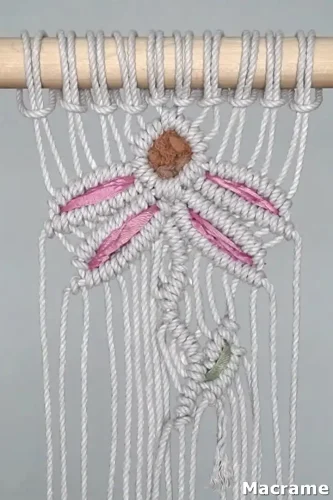
Geometric Pattern Using Double Half Hitch Knots
Materials:
– 3mm Classic Cotton String (Natural)
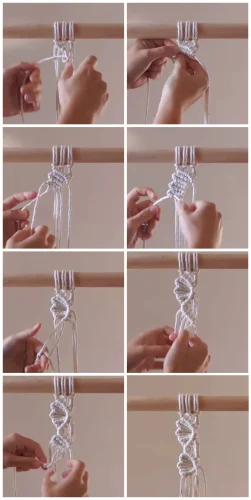
– 5mm Premium Rope (Natural)I have another geometric pattern for you today. The first part of the video will show you how to create the pattern using 5mm rope and then during the second part of the video I recreate the design using 3mm string so you can see how that looks as well.
Starting..
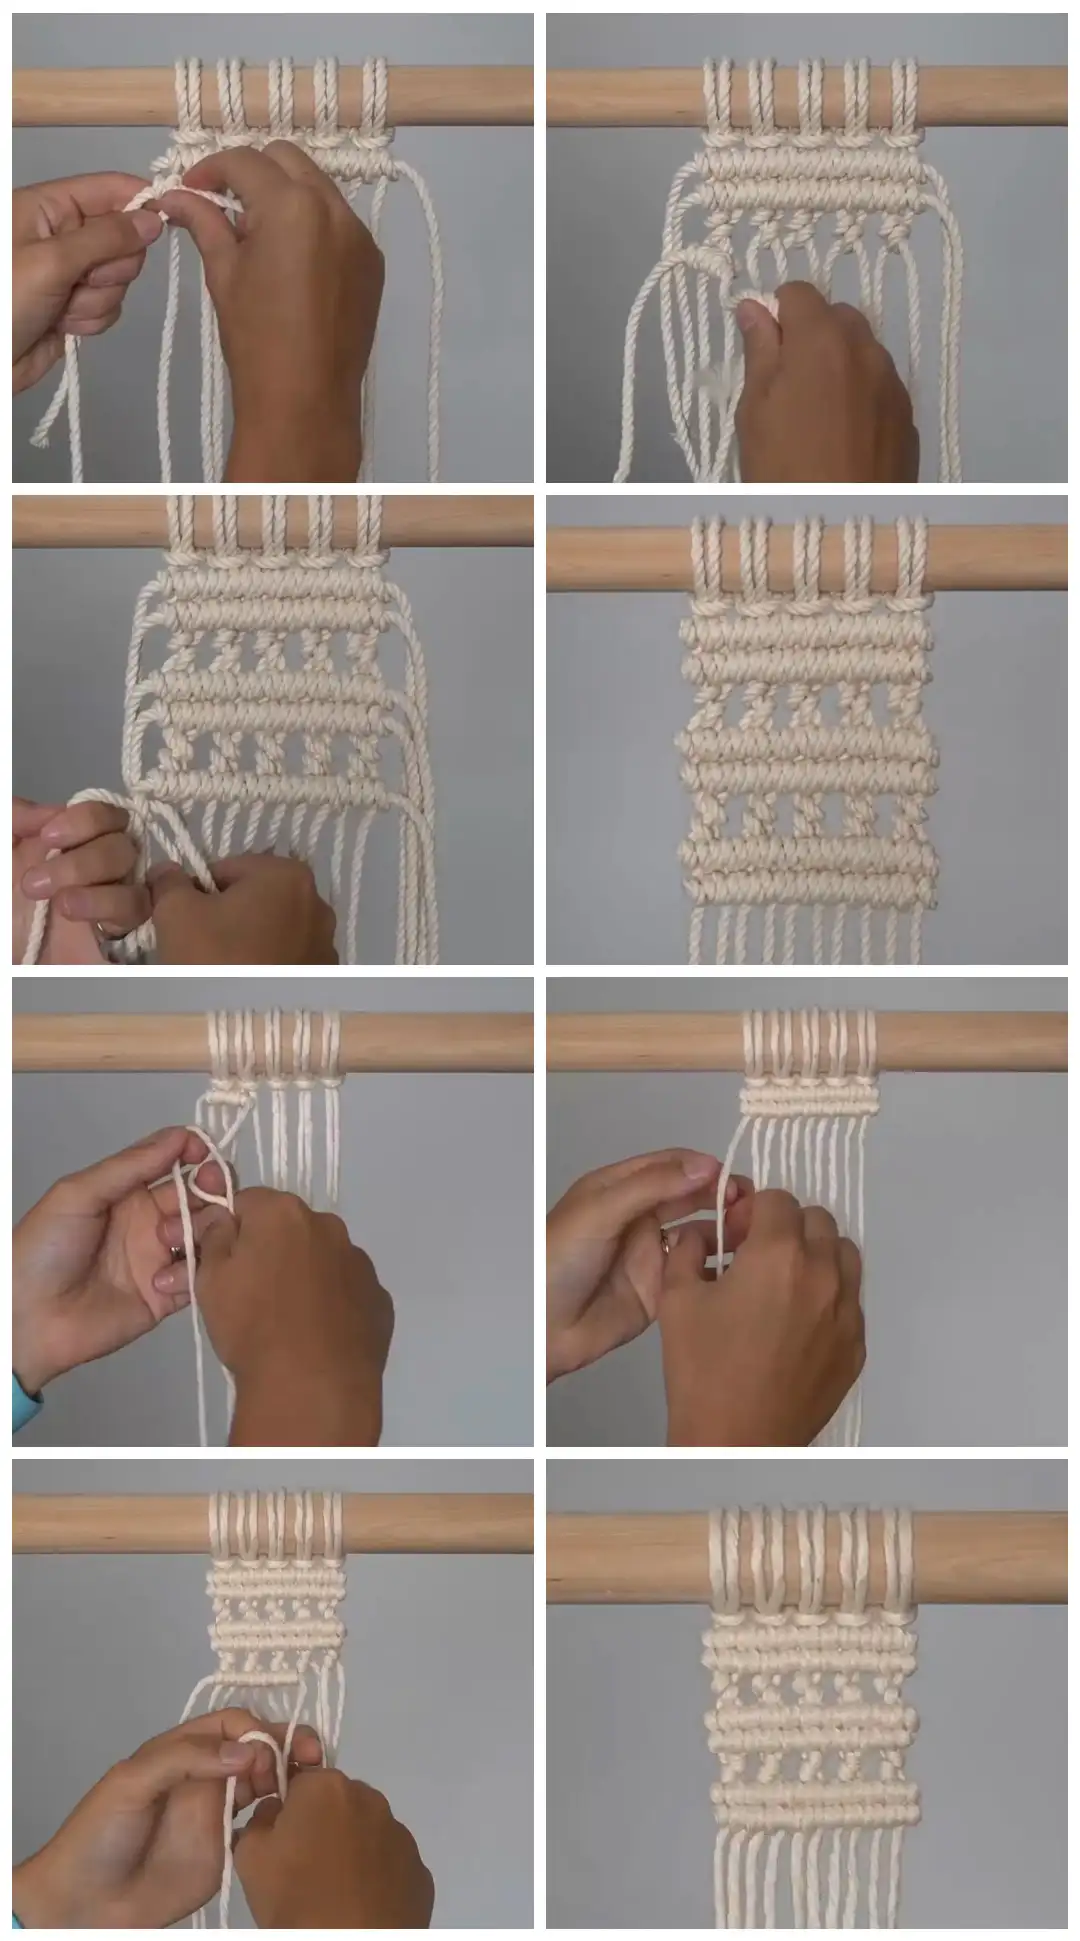
Cut 6 pieces of 5mm rope, each piece is 18 inches long. Set aside. Cut 5 pieces of 5mm rope, each piece is 8 ft long. Fold each piece in half and attach to your dowel using Lark’s Head knots.
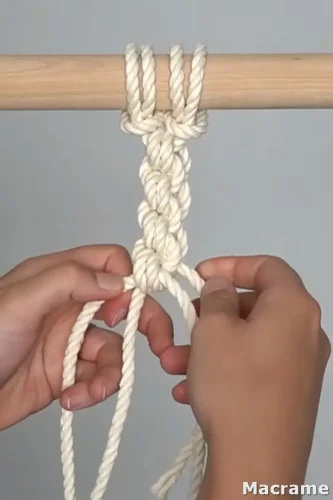
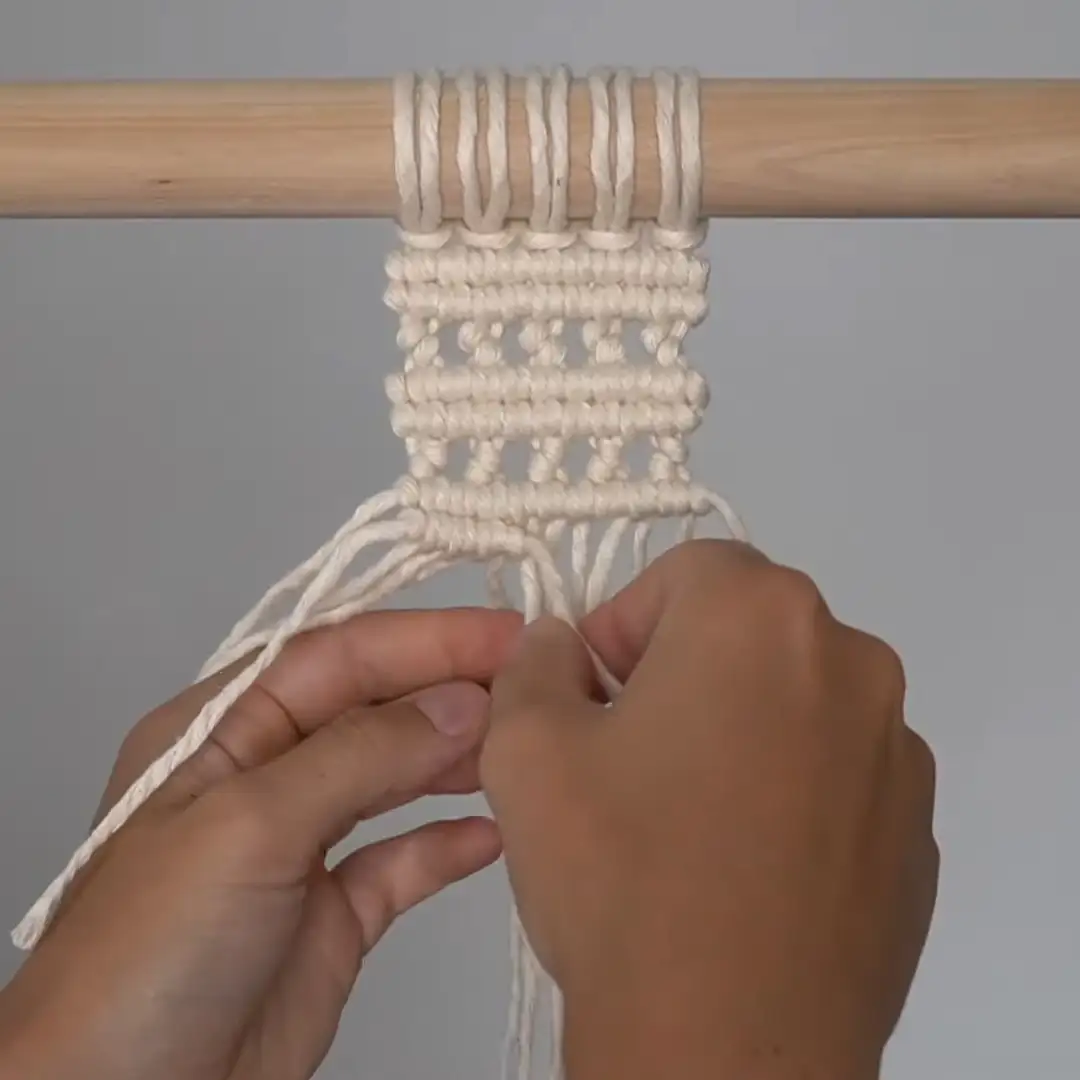
Use one of the 6 18-inch pieces of rope as your filler cord and tie 10 double half hitch knots (dhhks) across your work. Repeat.
Use the cord on the left as your filler cord and tie one dhhk working down and to the right. Repeat 4 more times across your work. Tie two more rows of dhhks across your work using two more of the 18-inch pieces of rope as your filler cords.
Use the cord second from the left as your filler cord and tie one dhhk working down and to the left. Repeat 4 more times across your work. Tie two more rows of dhhks across you work using the last two 18-inch pieces of rope as your filler cords.
You can either tuck the filler cords into the back of the knots behind your work or cut off the ends and add a dab of glue to the knot on either side to secure it in place.
Thanks for watching!