Table of Contents
Macrame Projects – Half Circle and Half Moon tutorial
Macrame is one of the most relaxing and creative crafts that you can do at home. It can be used to make all kinds of shapes and patterns, so you are sure to find something that you like! You can plan your patterns out first on paper and start creating. Then, when the project is finished, you’ll have a masterpiece on your hands! Here are some examples of easy projects that you can make at home. Enjoy!
Choose a material that’s easily available. String and butcher’s twine are both acceptable for making macrame crafts. If you’re new to macrame, you can use Venetian blind cords or household string. But don’t use knitting yarn. Cotton and linen are both easily available and are less likely to be damaged than jute. Depending on the project, you may want to buy several cords to get the desired effect.
The different cords in macrame can be distinguished by their function. The mounting cord is a support. It does not have to be a chord. It can be a belt buckle, dowel, or ring. The knotting cords are the actual knotted cords. The holding cord is the one that supports other cords. The knot bearing and anchor cords are the ones that support the macrame. Then, the finishing touches, called the macrame “rows,” are the pieces that go together.
The second knot is called the Lark’s Head knot. To tie a Lark’s Head knot, you simply pull the two strands through the loop and pull the other strand. The Lark’s head knot is the most popular macrame knot. You can use this knot for any project, from a simple indoor house plant hanger to elaborate wall art. The possibilities are endless. You can use macrame to spice up any item in your home or office.
Once you have a board ready, you can start creating beautiful macrame objects. You can use items from around the house, such as a small hammer or a pair of scissors. You can use a dressmaker’s tape measure to measure the cords. After completing your first project, you can move on to the next. You can experiment with different types of knots by using your imagination. You can also experiment with different colors and textures, such as red, white, or yellow.
You can dye macrame by dipping the cords in fabric dye. To dye macrame, you should soak it in a solution for at least 20 minutes. The length of the cord depends on how long you want the project to be. Remember, the more you practice, the better your knots will be. You can always try different colors, but a few basic colors may be too bold and overpowering for your taste.
A variety of macrame projects are fun and easy to make. Beginners can start with a simple bracelet. Other ideas include a colorful mobile made of colorful ropes. This project is also easy and inexpensive to make. If you want to try something more complicated, you can dye the macrame in a fashion store. A great idea is to make a piece of macrame in a different color than the one you’re currently using.
Once you know how to make a macrame knot, you can start creating your masterpiece. Once you’ve mastered the basic knots, you can use the various colors and designs to create a unique, custom-made piece. If you want to learn more advanced macrame knots, you can also check out a tutorial on macrame. The video will show you the basic techniques and help you create a beautiful creation.
When it comes to knots, you can use any type of cords to create macrame. The square knot is one of the most common and versatile. Typically, it is tied with four cords: two outer and two middle. If you don’t have the same amount of cords, you can use more than one. When you are making a square knot, you should tie it twice. A half-square knot is the same as the full square knot.
Besides being functional, macrame is also aesthetically appealing. This ancient craft has many benefits and can be a wonderful gift for your loved one. For starters, it’s a fun and addictive hobby. You can make a necklace, scarf, and other accessories, and even decorate your home. A large number of macrame pieces are available for purchase. You can also make a decorative piece that matches your..
Materials:
2.5 ft of 3mm String (Colour: Natural)
3.5 ft of 3mm String (Colour: Vintage Green or Sangria)
4 ft of 3mm String (Colour: Vintage Peach or Steel Grey/Blue)
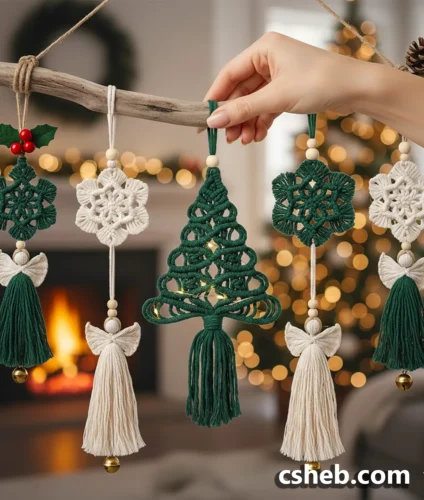
Cinnamon Sticks
Thread to hang on treeLets start:
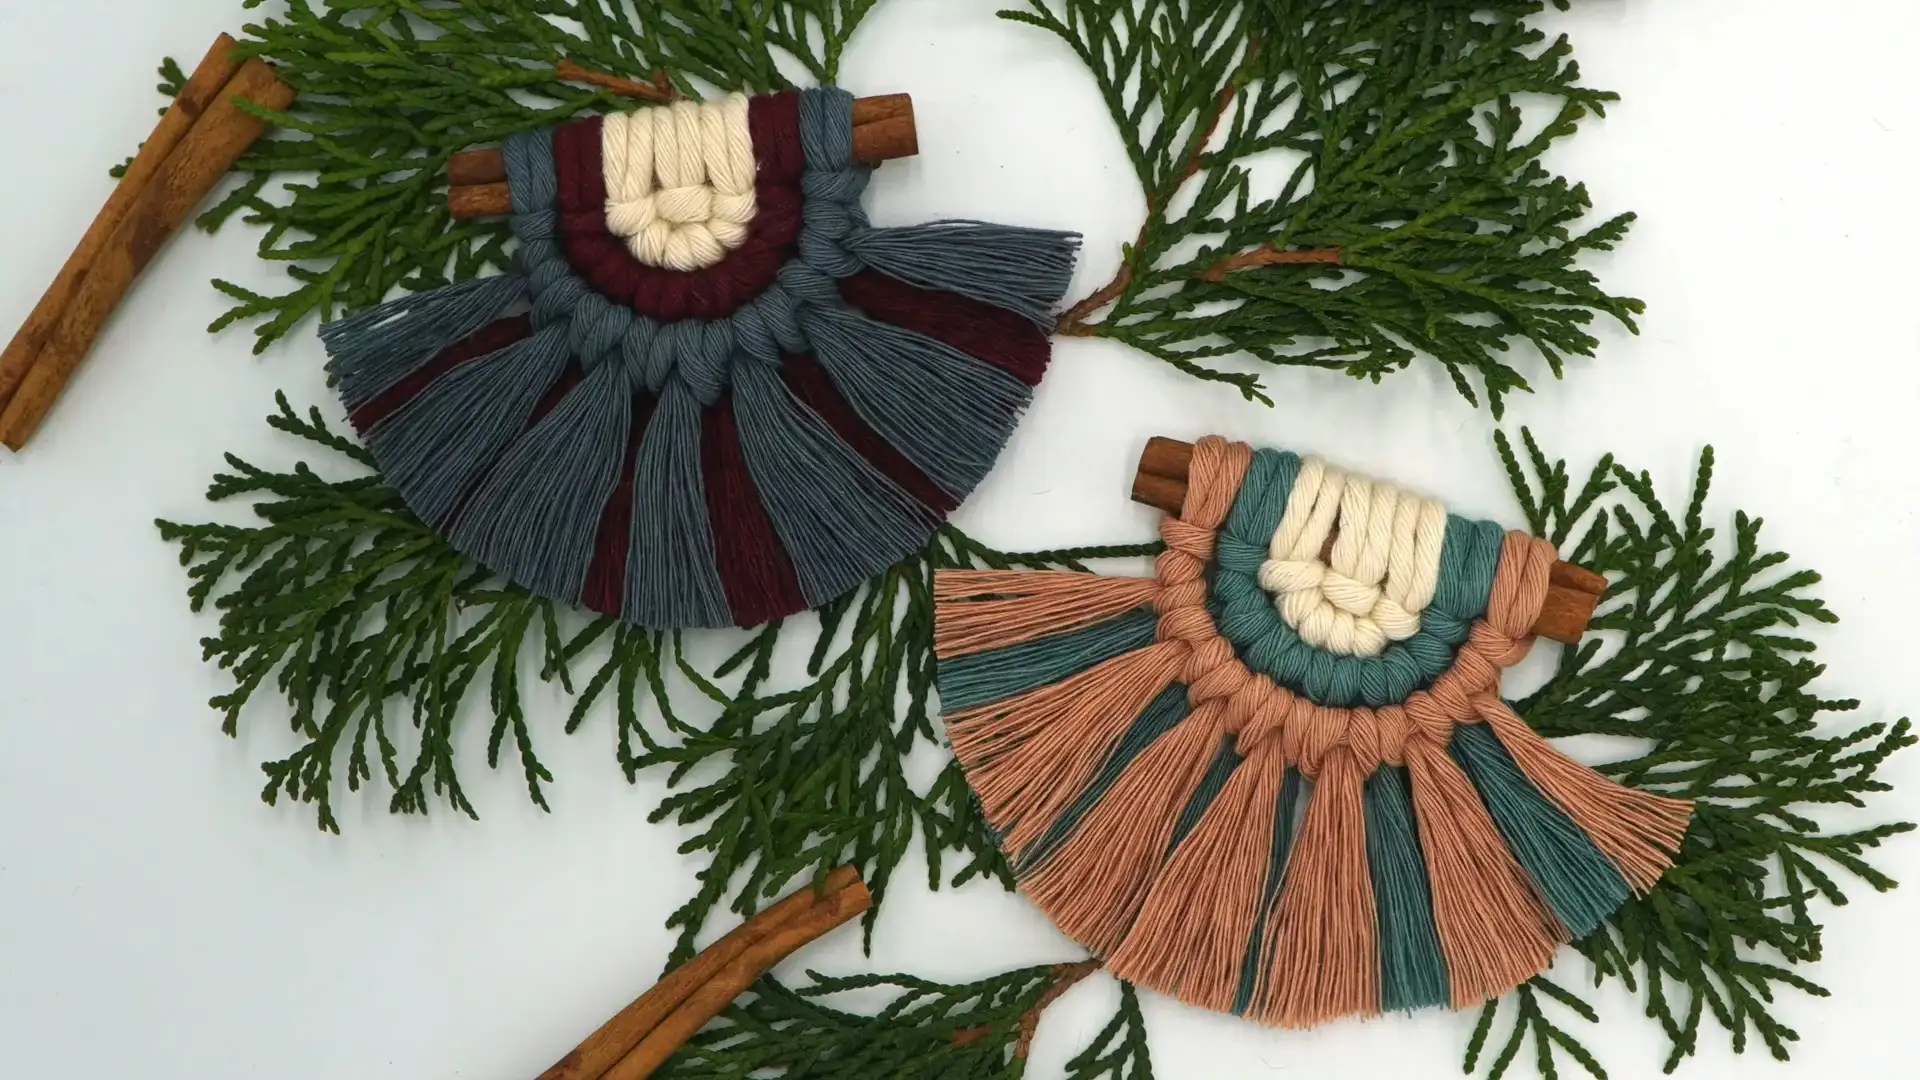
For this project you will need 3 colours which will be used to create the inner, middle and outer rows of double half hitch knots. You’ll need 2.5 ft for the inner row (I’m using natural), 3.5 ft for the middle row (I used vintage green and sangria), and 4 ft for the outer row (I used vintage peach and steel grey/blue). Let’s get started.
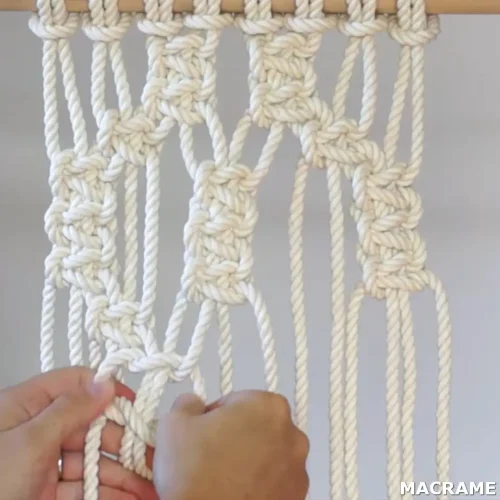
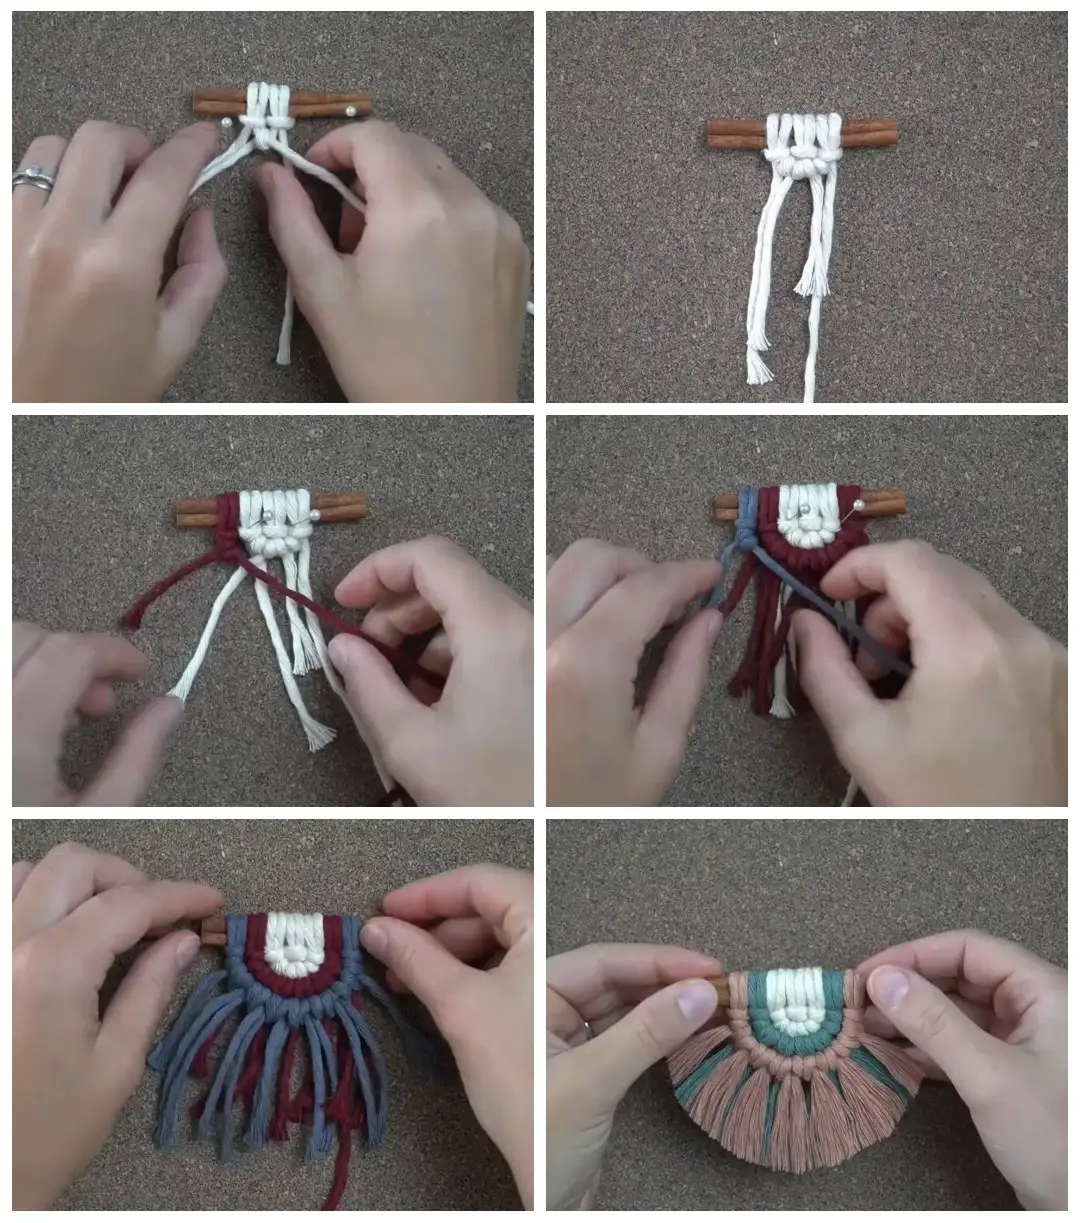
Cut one piece of natural string that is 1.5 ft long and one piece that is 1 foot long. Fold the the 1.5 ft piece so that there is 5 inches on the left and 13 inches on the right. Attach it to your cinnamon stick using a Lark’s Head knot. Fold the 1 foot piece of string in half and attach it to the right of the previous Lark’s Head knot.
Use the inner left cord as your filler cord and tie 2 double half hitch knots working to the right. Attach the filler cord to the right side of your work using a Lark’s Head knot.
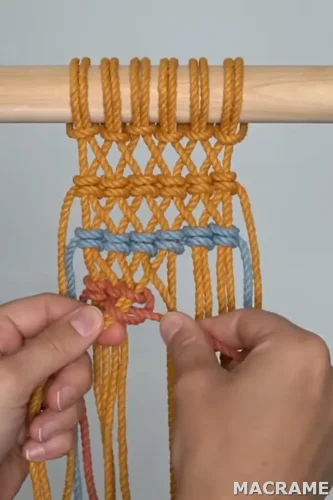
Cut one piece of 3mm string in the colour sangria that is 1.5 ft long. Cut 4 more pieces of the same string, each piece is 6 inches long. Fold the 1.5 ft piece of sangria string so that there is 5 inches on the right side and then attach it to the left side of your work using a Lark’s Head knot. Use the cord on the left as your filler cord and tie one dhhk. Attach the filler cord on the right side of your work using a Lark’s Head knot. Fold the 4 6-inch pieces of string in half and attach them to your filler cord using Cow Hitch knots. Tighten the Lark’s Head knot on the right side of your work.
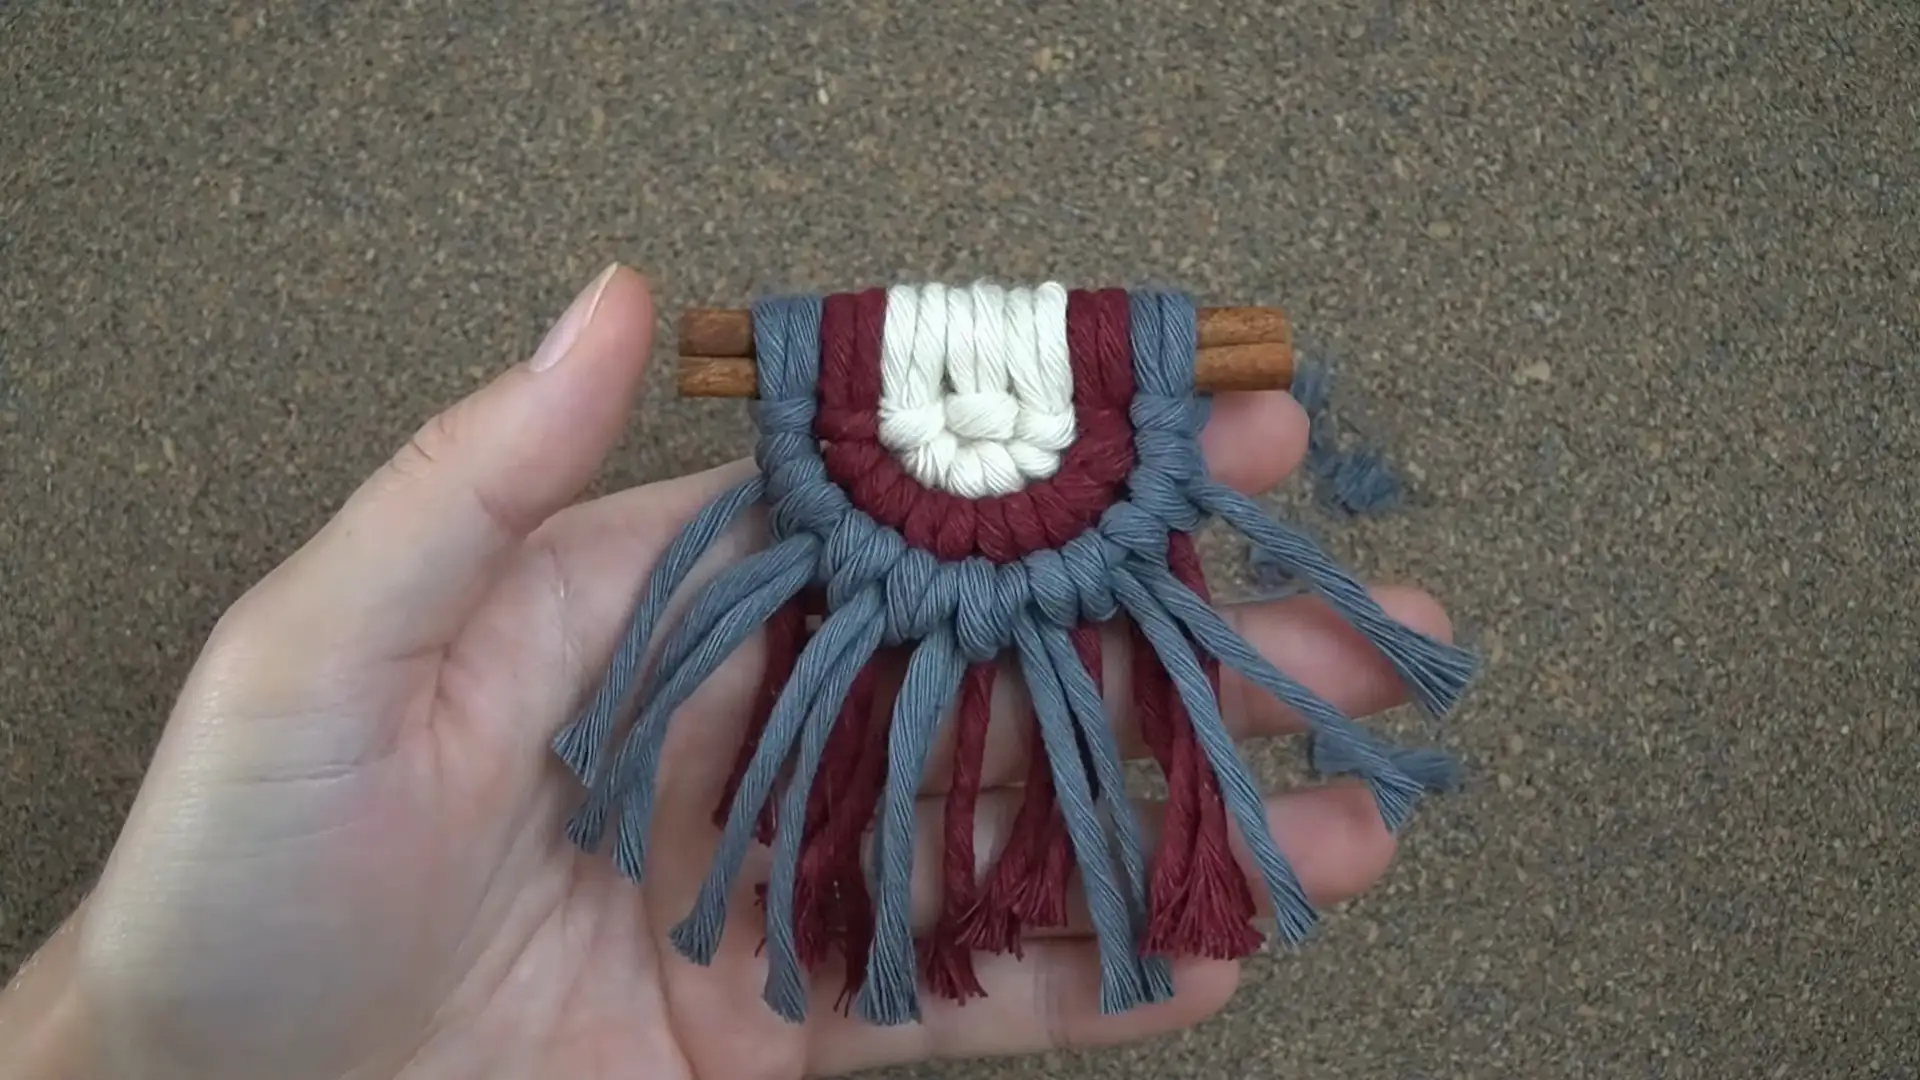
Cut one piece of 3mm string in the colour steel grey/blue that is 1.5 ft long. Cut 5 more pieces of the same string, each piece is 6 inches long. Repeat the same process as the last row this time adding 5 pieces inside of 4 pieces. Before finishing off this row we will tie one more dhhk on the right side of our work to secure it in place.
Cut the pieces of natural string in the back of your work as I’ve done here. You can glue them to the second row if you’d like to make it a bit more secure but I haven’t found that necessary.
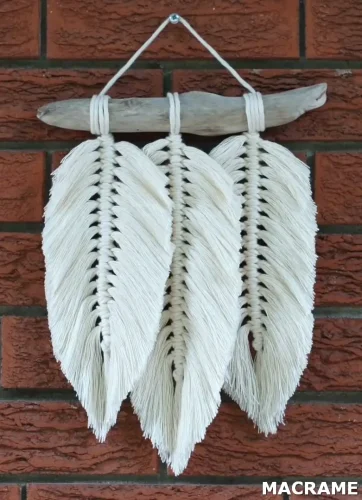
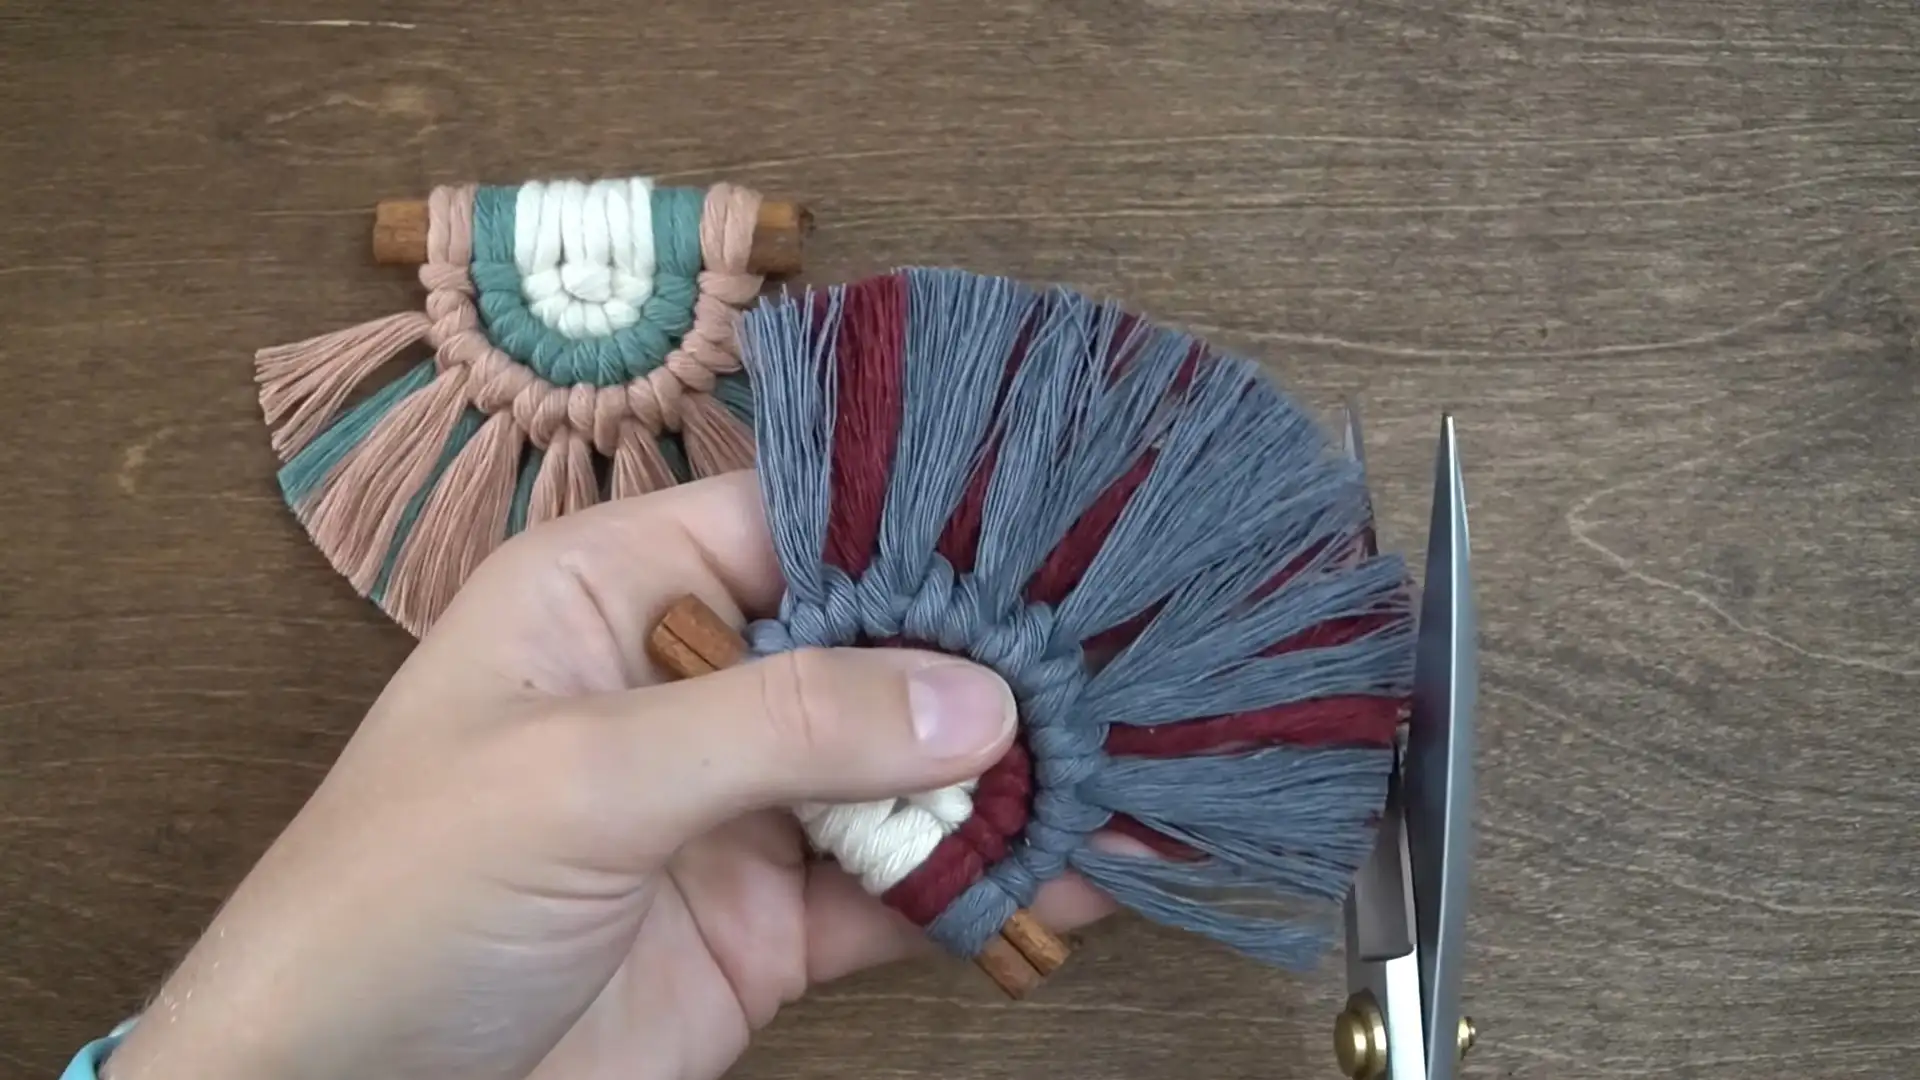
Trim the ends as you see fit, brush them out to create a bit of fringe and then trim once more.
Video:
Thanks for watching..