Table of Contents
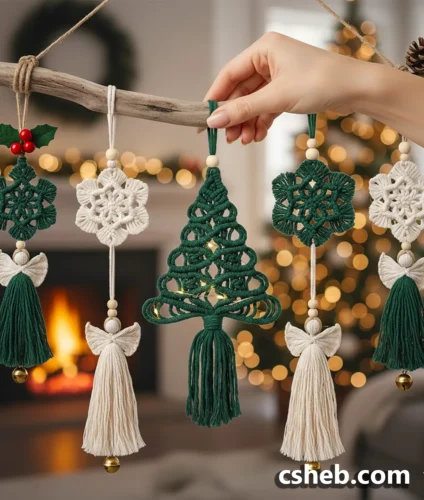
Diy Macrame: Wall Hanging Add Fringe
What is Macrame? How to make a macrame knot?
The art of macrame, which decorates the door or the walls of your home, is a skill that has been known for many years and is based on dexterity. Macrame, which comes to the fore from time to time, is an indispensable passion for some people. It is a matter of curiosity how to make wall decorations with macrame, which is especially suitable for creative and original works with different techniques. Let’s take a look at the art of macrame, which is the most used method by people who want to display their creativity in their homes.
How Is Macrame Made?
The main thing in making macrame is your hand skills. Therefore, the thing to keep in mind while tying the knot is to keep the rope taut. If you are making macrame using the square knot technique that works with double knots, you need to knit with four threads. The macrame thread here is first folded in half in the middle and passed to a fixed place. Thus, the threads are arranged. The rope on the far right is held on top of the others and taken over the other and passed under it. The thread is removed from the gap at the bottom and then the knot is tied by pulling it tightly. In the same way, the motif you want to create is continued on the left and right. A slightly different knotting is used for spiral structures. The rope is folded in half and fixed on the macrame board. Then, while one of the ropes is kept taut, the other rope is placed on this rope. The rope is passed by making a curve under the tight rope and the knot is tied by pulling it through the gap. You can also complete the spiral structure by going in one direction. If you want to reshape your home in bohemian styles, you can make wonderful wall and door decorations with macrame art.
Let’s get started, Wall Hanging Add Fringe
Material:
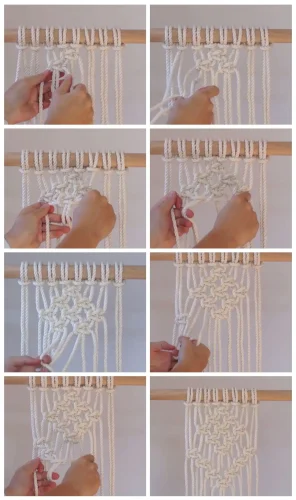
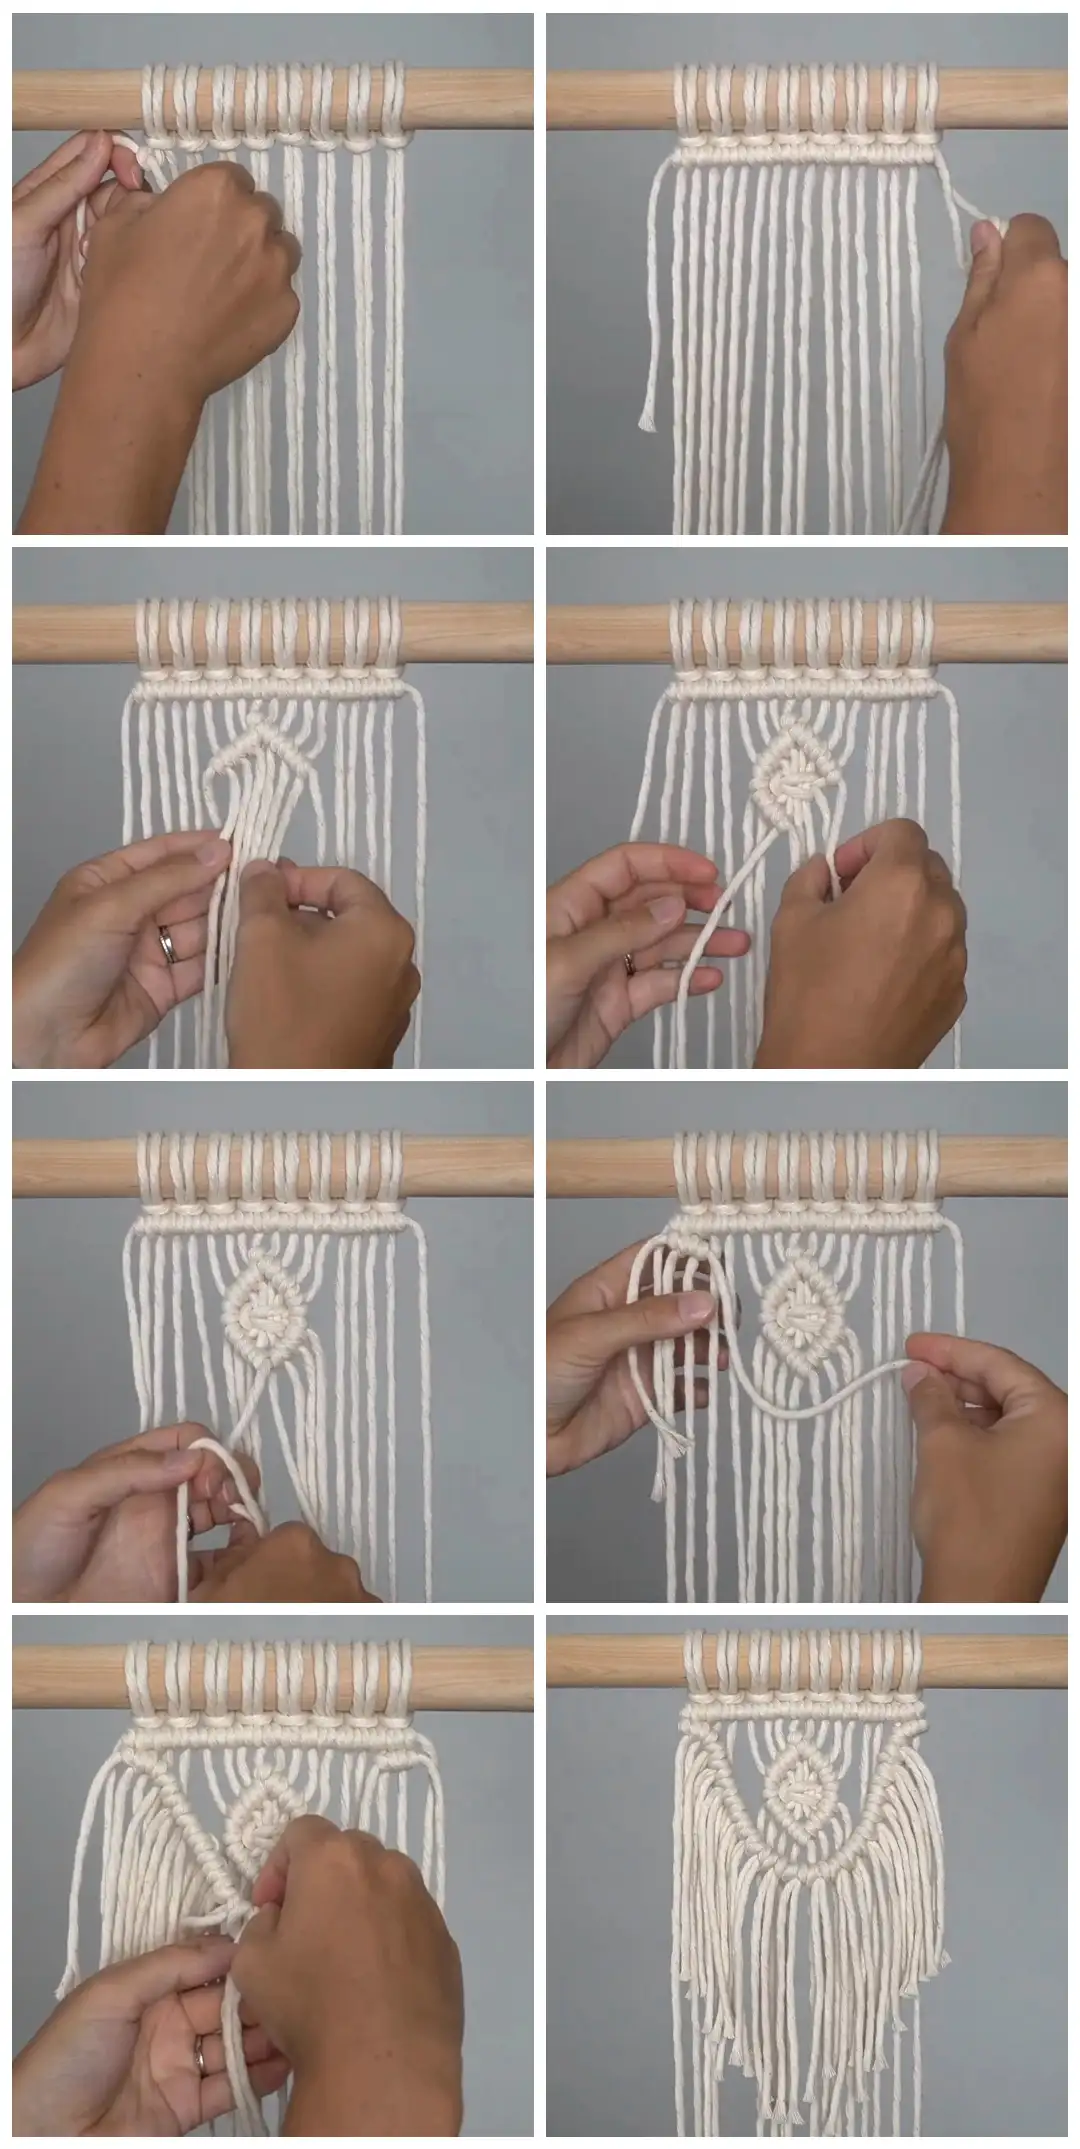
– 4mm String (Colour: Natural)Cut 8 pieces of 4mm string, each piece is 4 ft in length. Cut another piece of string, 1.5 ft in length, to use as your filler cord. Tie one row of double half hitch knots (dhhks), 16 knots total. Find the centre of your work and tie a diamond. To do this use the inside left cord as your filler cord and tie a dhhk working to the right. Tie 3 more dhhks moving to the right.
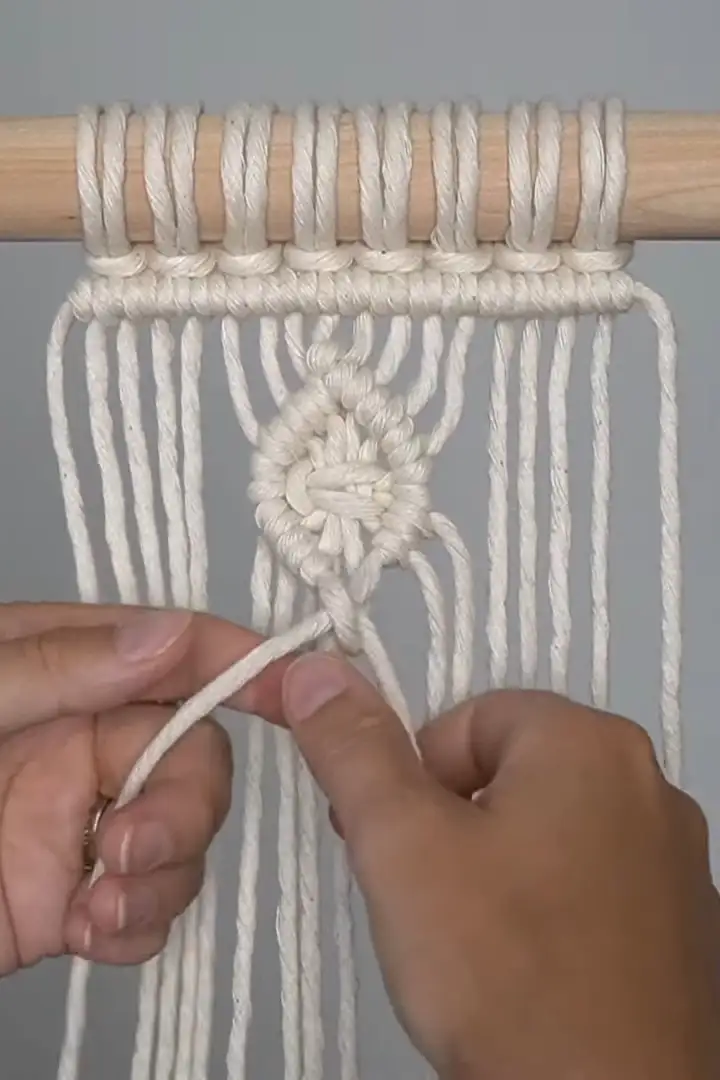
Use the current inside left cord as your filler cord and tie 3 dhhks moving to the left. Tie a SK in the middle of your diamond. Use the outside left cord as your filler cord and tie 3 dhhks moving down and to the right. Repeat on the right side of your work. Tie one more dhhk in the middle of your work to connect the two sides.
Cut another piece of string, 2ft in length, to use as your filler cord. Tie 2 dhhks on the left side of your work. Let the filler cord hang below the diamond in the centre of your work and then tie 2 more dhhks on the right side of your work.
Cut 18 pieces of string, each piece is 1 foot long. Fold in half and use a cow hitch knot to attach each piece to your work.
What is great about this pattern is that it is adjustable – the section of fringe can be created bigger or smaller depending on what you are envisioning for you piece of work.
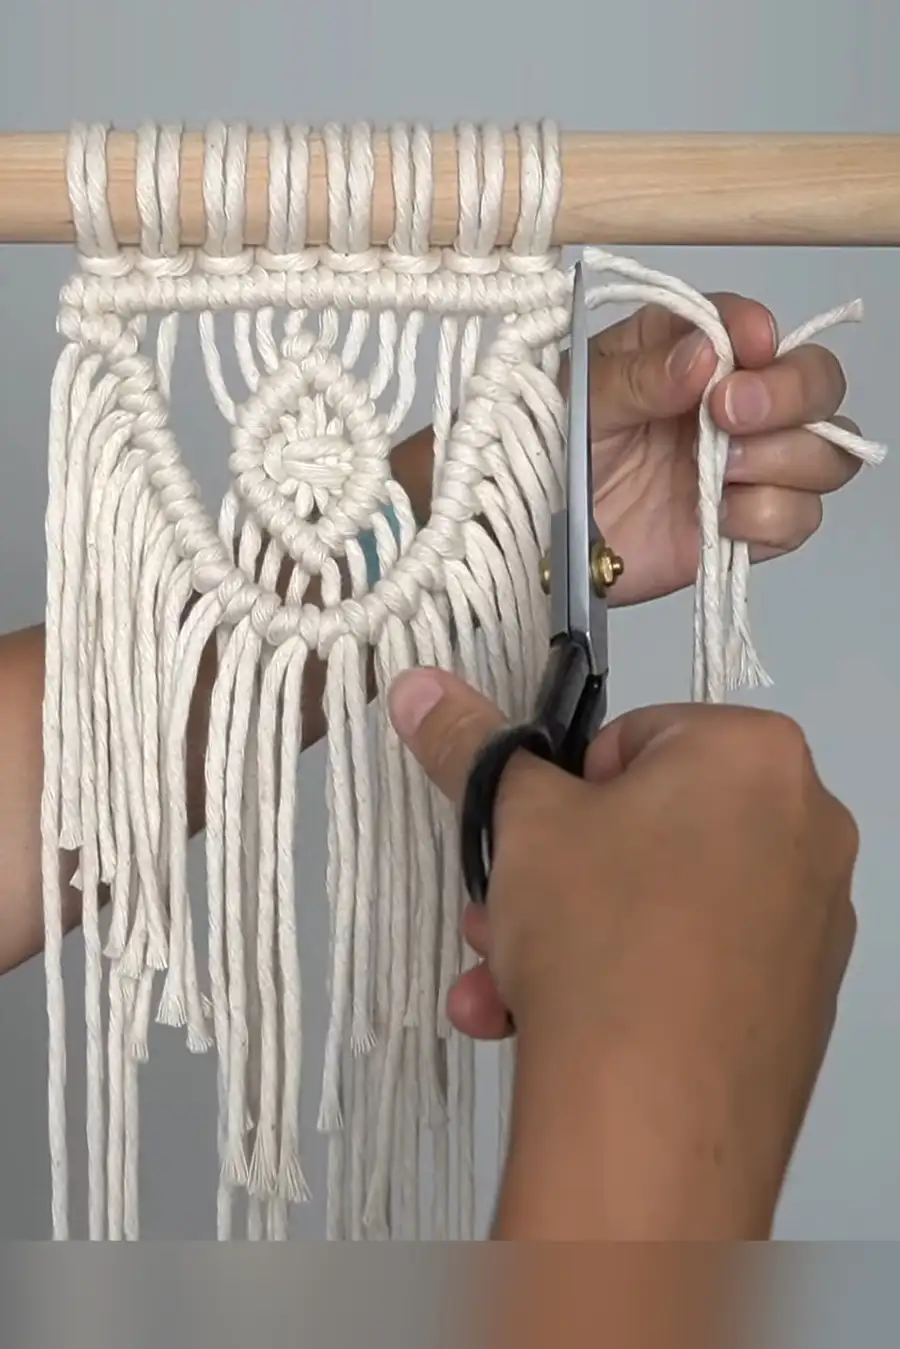
Leave the filler cords hanging, tuck them into the back of your work or cut off the ends. If you’re worried about the ends coming undone you can always add a dab of glue to secure it in place.
Thanks for watching!